Drought-Tolerant Landscaping: Create Your Water-Wise Garden
Your lawn looks tired, the sprinkler bill keeps climbing, and every hot stretch seems to leave more brown patches behind. That’s where many homeowners start. They don’t want a bare, gravel-only yard. They want something that still feels welcoming, finished, and attractive from the street.
That’s exactly what drought-tolerant outdoor design can do when it’s planned well. It isn’t a compromise. It’s a shift away from forcing a thirsty lawn to survive where it doesn’t want to. In its place, you get an outdoor space built around climate, soil, and practical maintenance.
Why Smart Landscaping Matters More Than Ever
A lot of people come to xeriscaping after frustration. They’ve reseeded, adjusted sprinklers, paid for fertilizer, and still ended up with a front yard that looks stressed for half the season. The mistake isn’t usually effort. It’s trying to make a high-water garden behave like a low-water one.
Drought-tolerant landscaping, often called xeriscaping, can reduce outdoor water use by 50 to 80% compared with traditional turf-heavy gardens, according to this water conservation guide. That matters because the same source notes that approximately 26% of the United States faced drought conditions as of 2025. For many homeowners, this stops being a style preference and becomes a property management decision.
A good xeriscape doesn’t look empty. It looks intentional. You trade weak lawn edges and constant irrigation for layered planting, stronger structure, and materials that belong in the climate you live in.
What a smart conversion changes
Instead of thinking only about what to remove, think about what you gain:
- Lower water demand: Less dependence on frequent irrigation.
- Better resilience: Plants are chosen for your conditions, not wishful thinking.
- Cleaner curb appeal: Pathways, mulch, stone, and structured planting read as designed, not neglected.
- Less seasonal drama: You won’t spend every dry spell trying to rescue the same patches.
If you’re still sorting out the basics, this overview of what xeriscaping landscaping means is a useful starting point.
Practical rule: A successful drought-tolerant yard is designed around the site first, then the plant palette, then the irrigation. Reversing that order causes most expensive mistakes.
The homeowners who get the best results don’t start by buying plants. They start by reading the yard correctly. Sun, slope, runoff, soil texture, reflected heat, and exposure will tell you what belongs there long before a nursery tag does.
Assess Your Canvas Before You Paint
Most failed drought-tolerant outdoor areas don’t fail because the idea was wrong. They fail because the site was guessed at. Before you sketch a bed line or choose a shrub, walk the yard like a detective. Your job is to understand what the property is already telling you.
Make a simple sun map
Stand outside in the morning, around midday, and late afternoon. Take quick notes or mark up a printed photo of your yard. Notice where full sun lasts, where shade moves, and where walls or pavement bounce heat back onto planting areas.
A bed by a south-facing wall often behaves differently from a bed just a few feet away. The same plant may thrive in one and struggle in the other. That’s not bad luck. It’s a microclimate.
Focus on these patterns:
- All-day exposure: Best for many drought-adapted plants that need strong light.
- Morning sun, afternoon shade: Good for plants that handle dryness but dislike harsh reflected heat.
- Deep shade under trees or eaves: Often harder than it looks because roots and dry soil compete with new plantings.
- Heat traps near masonry: These spots can run hotter and dry faster than the rest of the yard.
Test the soil you actually have
Homeowners often talk about “bad soil” as if it’s one thing. It isn’t. Some yards drain too fast. Others hold water too long. Some compact easily and make root growth difficult. You don’t need a complicated lab process to learn a lot from a basic hands-on check.
Grab a handful of moist soil and squeeze it. Sandy soil falls apart quickly. Clay stays sticky and dense. Loam lands in the middle. Then do a drainage check by filling a small test hole with water and watching how quickly it disappears. The goal isn’t perfection. It’s knowing whether your site dries out too fast, stays wet too long, or has compaction problems.
Soil tells you how forgiving your plant choices can be. A plant that’s “drought tolerant” in fast-draining soil may struggle if roots stay wet after irrigation.
Read the existing clues
Your property already has indicators. You just need to pay attention to them.
Look for:
- Healthy existing plants: They often reveal what the site naturally supports.
- Struggling corners: Repeated failure in one spot usually points to drainage, light, or heat issues.
- Runoff paths: Watch where water moves after irrigation or rain.
- Wind exposure: Open front yards can dry out faster than enclosed courtyards.
- Tree root zones: Large established roots change both moisture and planting options.
Note the fixed elements before design starts
New homeowners often design as if the whole yard is blank. It isn’t. Driveways, utilities, entries, windows, sightlines, and door swings all affect plant placement. So do practical needs like walking routes, trash bin access, and visibility from the street.
A good site assessment should answer these questions before you move on:
- Where is the hottest part of the yard?
- Which areas stay driest without help?
- Where does water collect or run off?
- Which views matter most from the house and the street?
- What needs screening, framing, or softening?
This step feels slower than buying a few attractive plants, but it saves money. When you know your light, soil, drainage, and microclimates, your design starts to fit the property instead of fighting it.
Design Your Water-Wise Oasis with Confidence
Once you understand the yard, design gets easier. Not because every choice becomes obvious, but because the wrong choices drop away fast. You’re no longer decorating a blank space. You’re organizing a site with clear conditions and priorities.

Start with hydrozoning, not plant shopping
One of the strongest design principles in drought-tolerant landscaping is hydrozoning. That means grouping plants by similar water needs so irrigation can match the planting instead of overwatering one area to keep another alive.
The Yardzen guide on drought tolerant landscape design is helpful for visual inspiration, but success comes from applying that inspiration with discipline. A lavender border, a shade tree, and a thirstier accent planting can coexist, but they shouldn’t all be treated as if they need the same watering pattern.
Think in zones:
- Low-water zones: Native and adapted plants that need little irrigation once established.
- Moderate-water zones: Entry areas or focal beds where appearance matters and irrigation is more targeted.
- Functional zones: Paths, seating areas, decomposed granite, gravel, or stone that reduce irrigated square footage.
This is also where hardscaping earns its keep. Stone paths, gravel courts, edging, and patios don’t just add style. They reduce the area that needs watering and make the whole yard feel structured.
Build the layout around movement and view
A front yard has a job. It needs to look good from the street, guide people to the entry, and still be manageable. That’s easier when you design in layers.
I usually think in three visual bands:
- The frame: Trees, taller shrubs, and architectural plants that anchor the yard.
- The middle layer: Repeating shrubs, grasses, and perennials that create rhythm.
- The ground plane: Mulch, gravel, low groundcovers, and paths that keep everything cohesive.
If every plant is a specimen, the yard feels busy. If everything is flat and low, it feels unfinished. The strongest low-water designs balance contrast. Fine leaves against bold foliage. Upright forms against mounding ones. Quiet base materials under a few stronger focal points.
Use visualization to catch mistakes before installation
Modern design tools are highly useful. A homeowner may know they like Mediterranean or desert-modern planting, but that doesn’t mean they can visualize spacing, massing, or how a gravel path will work with the house facade.
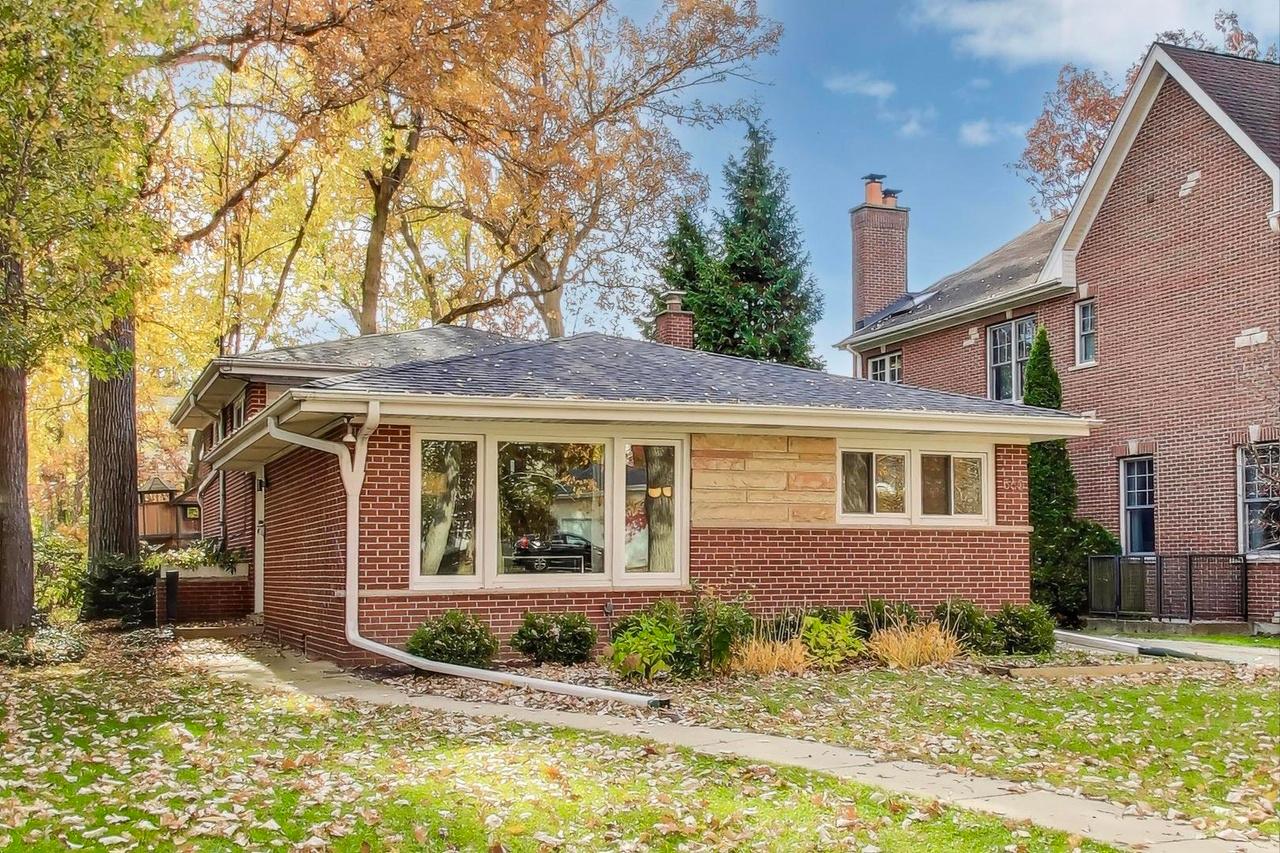
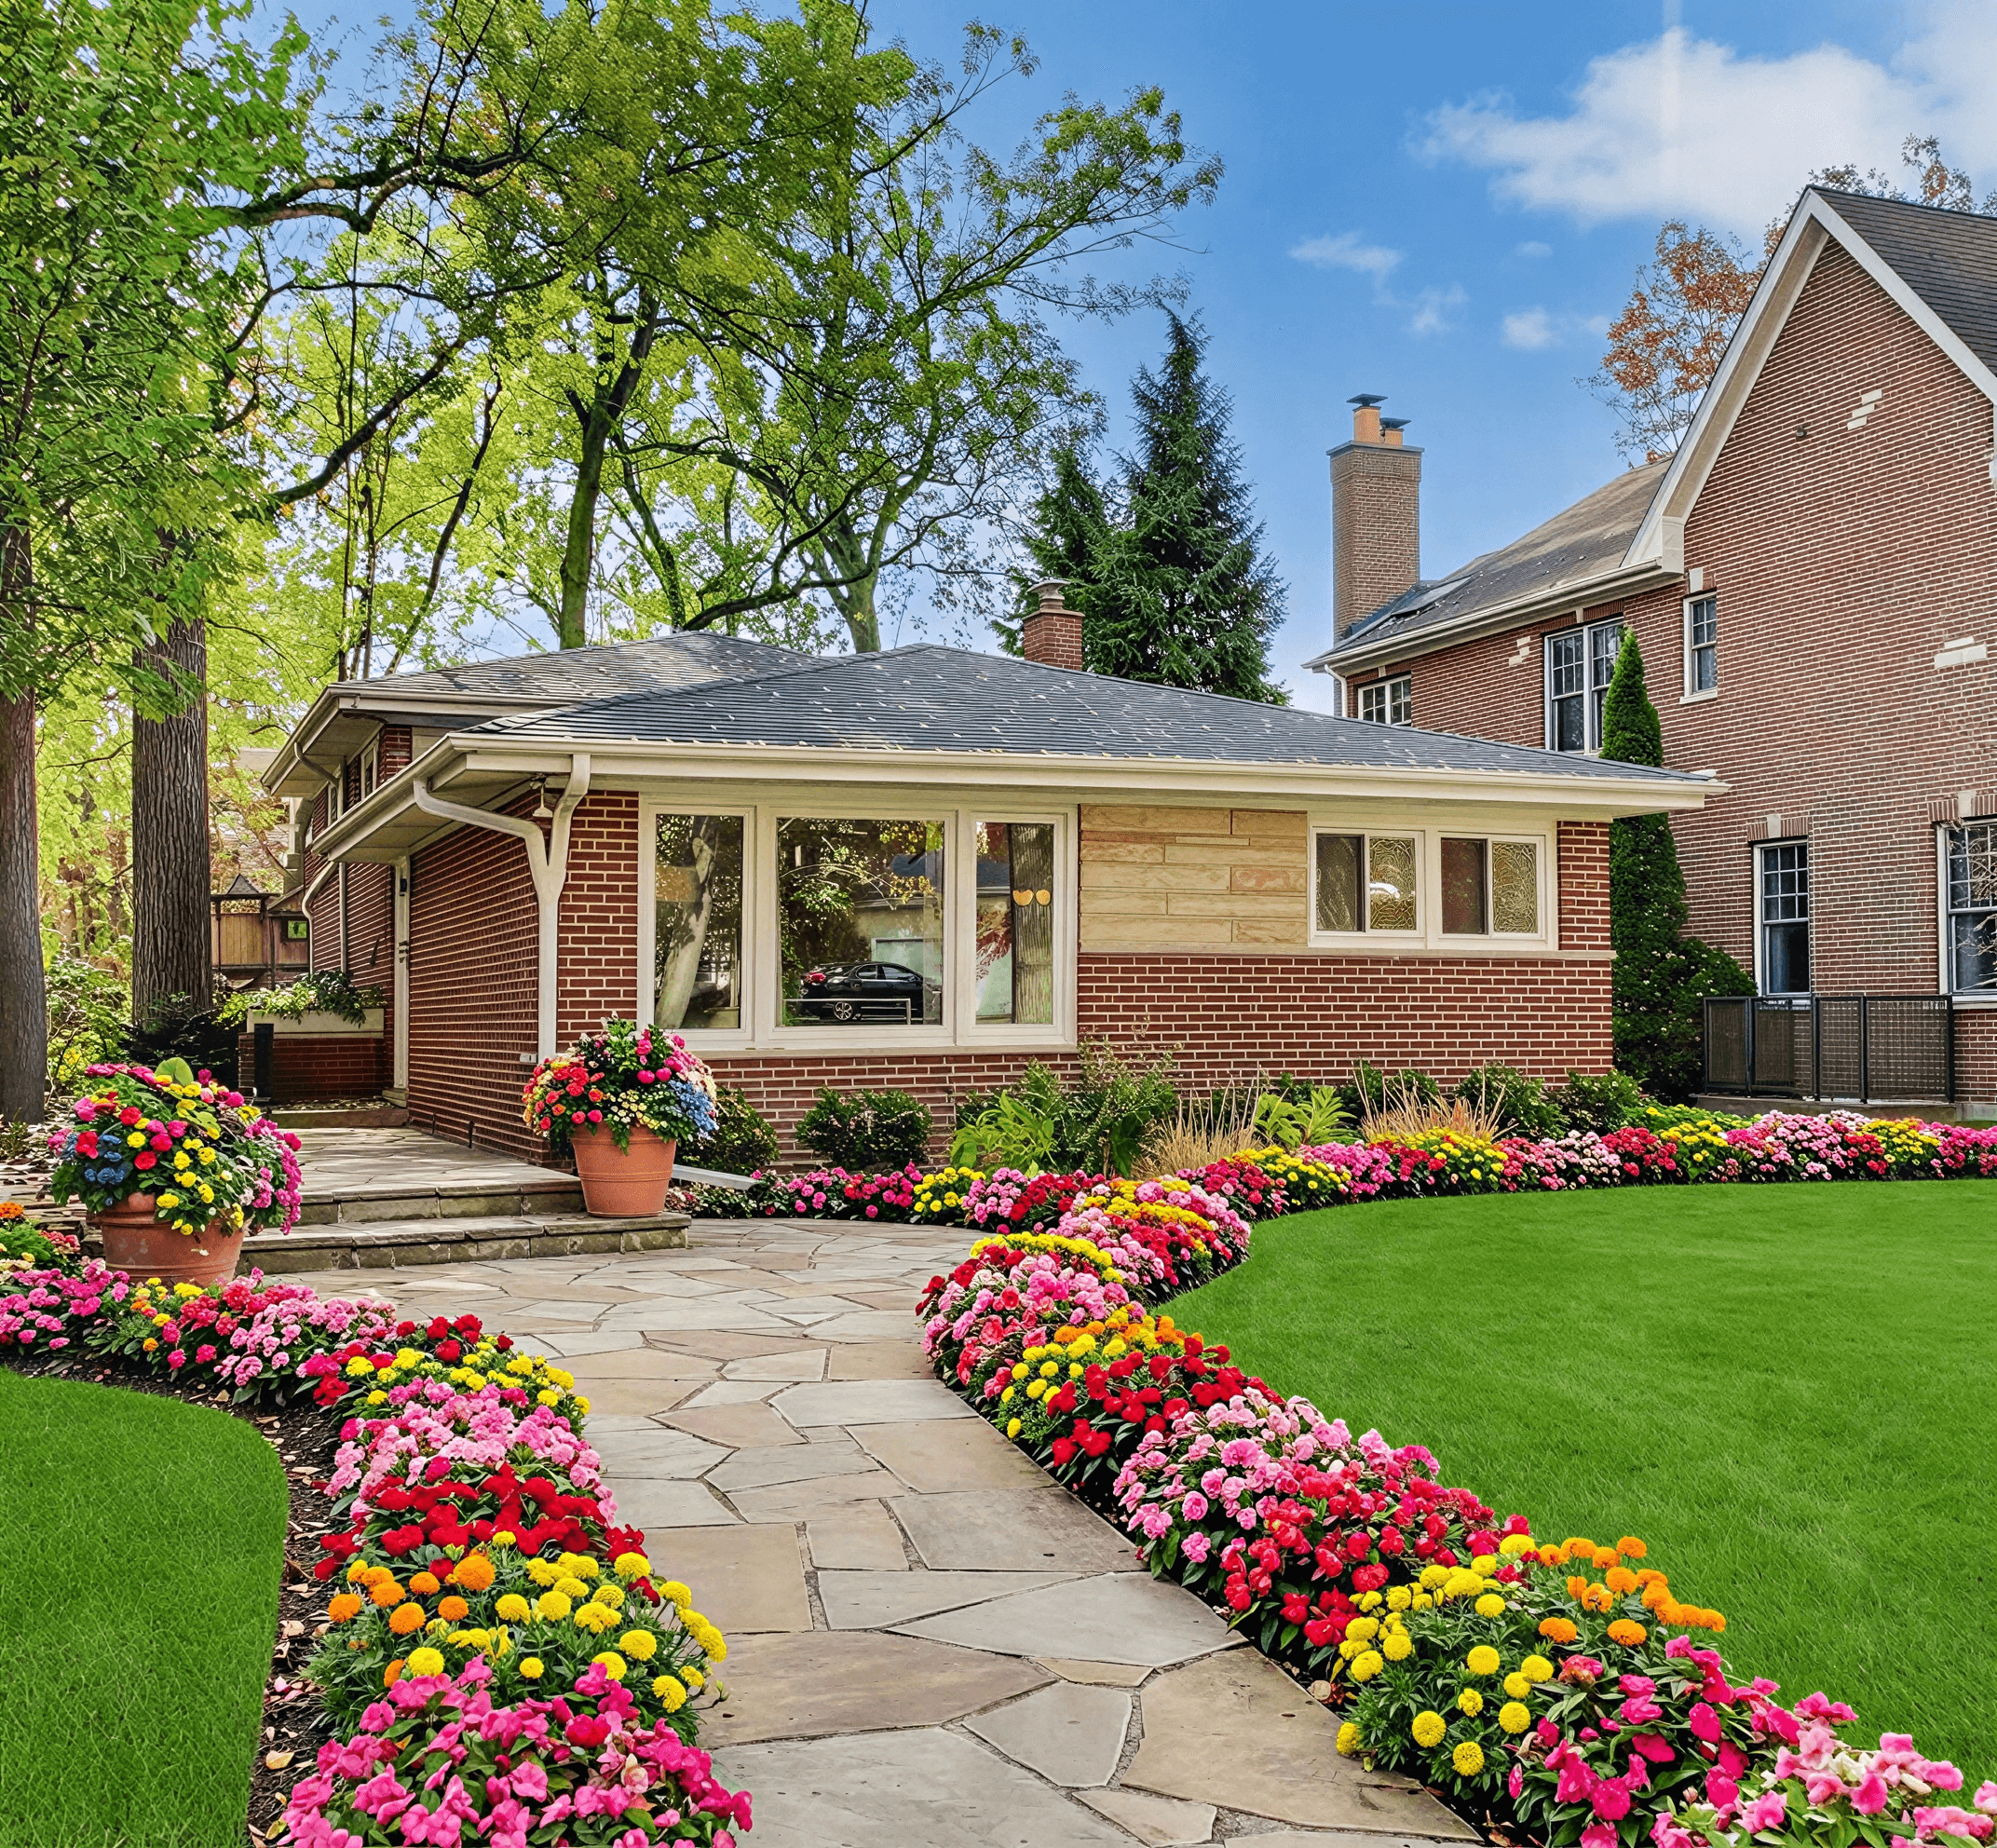
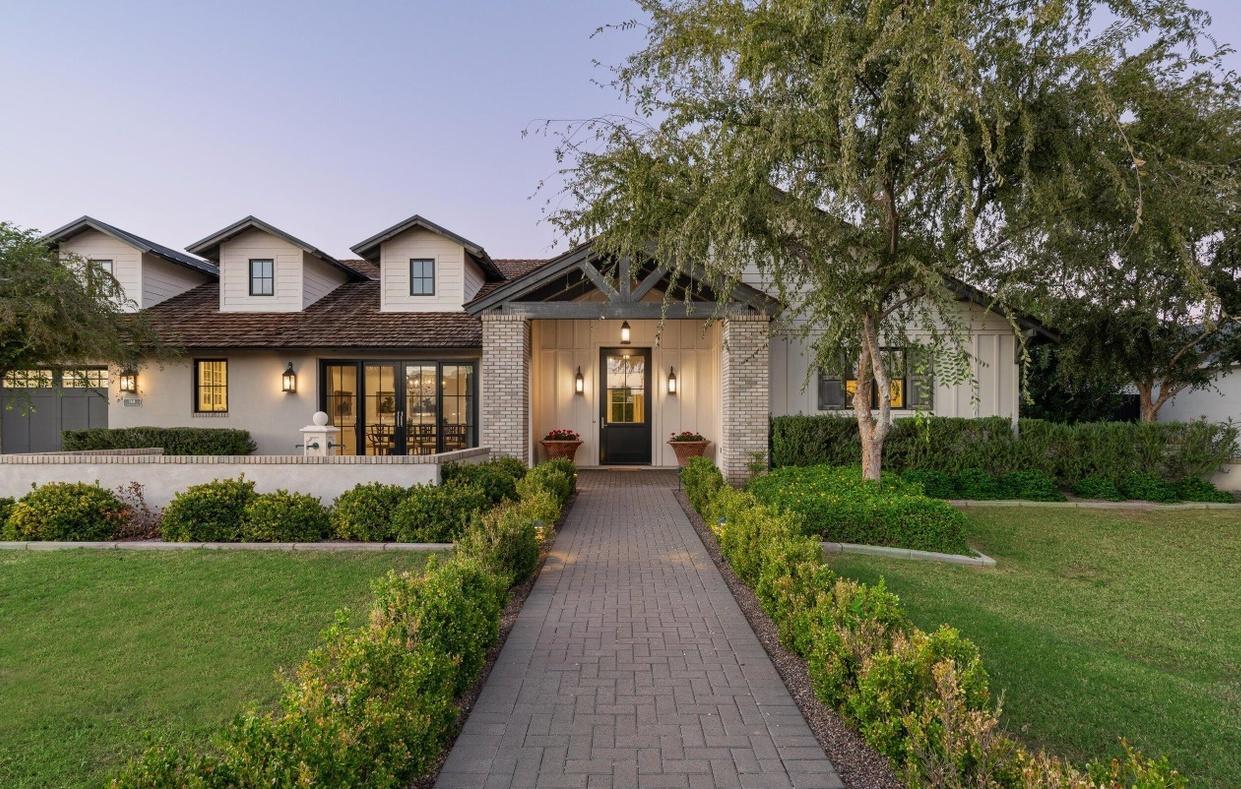
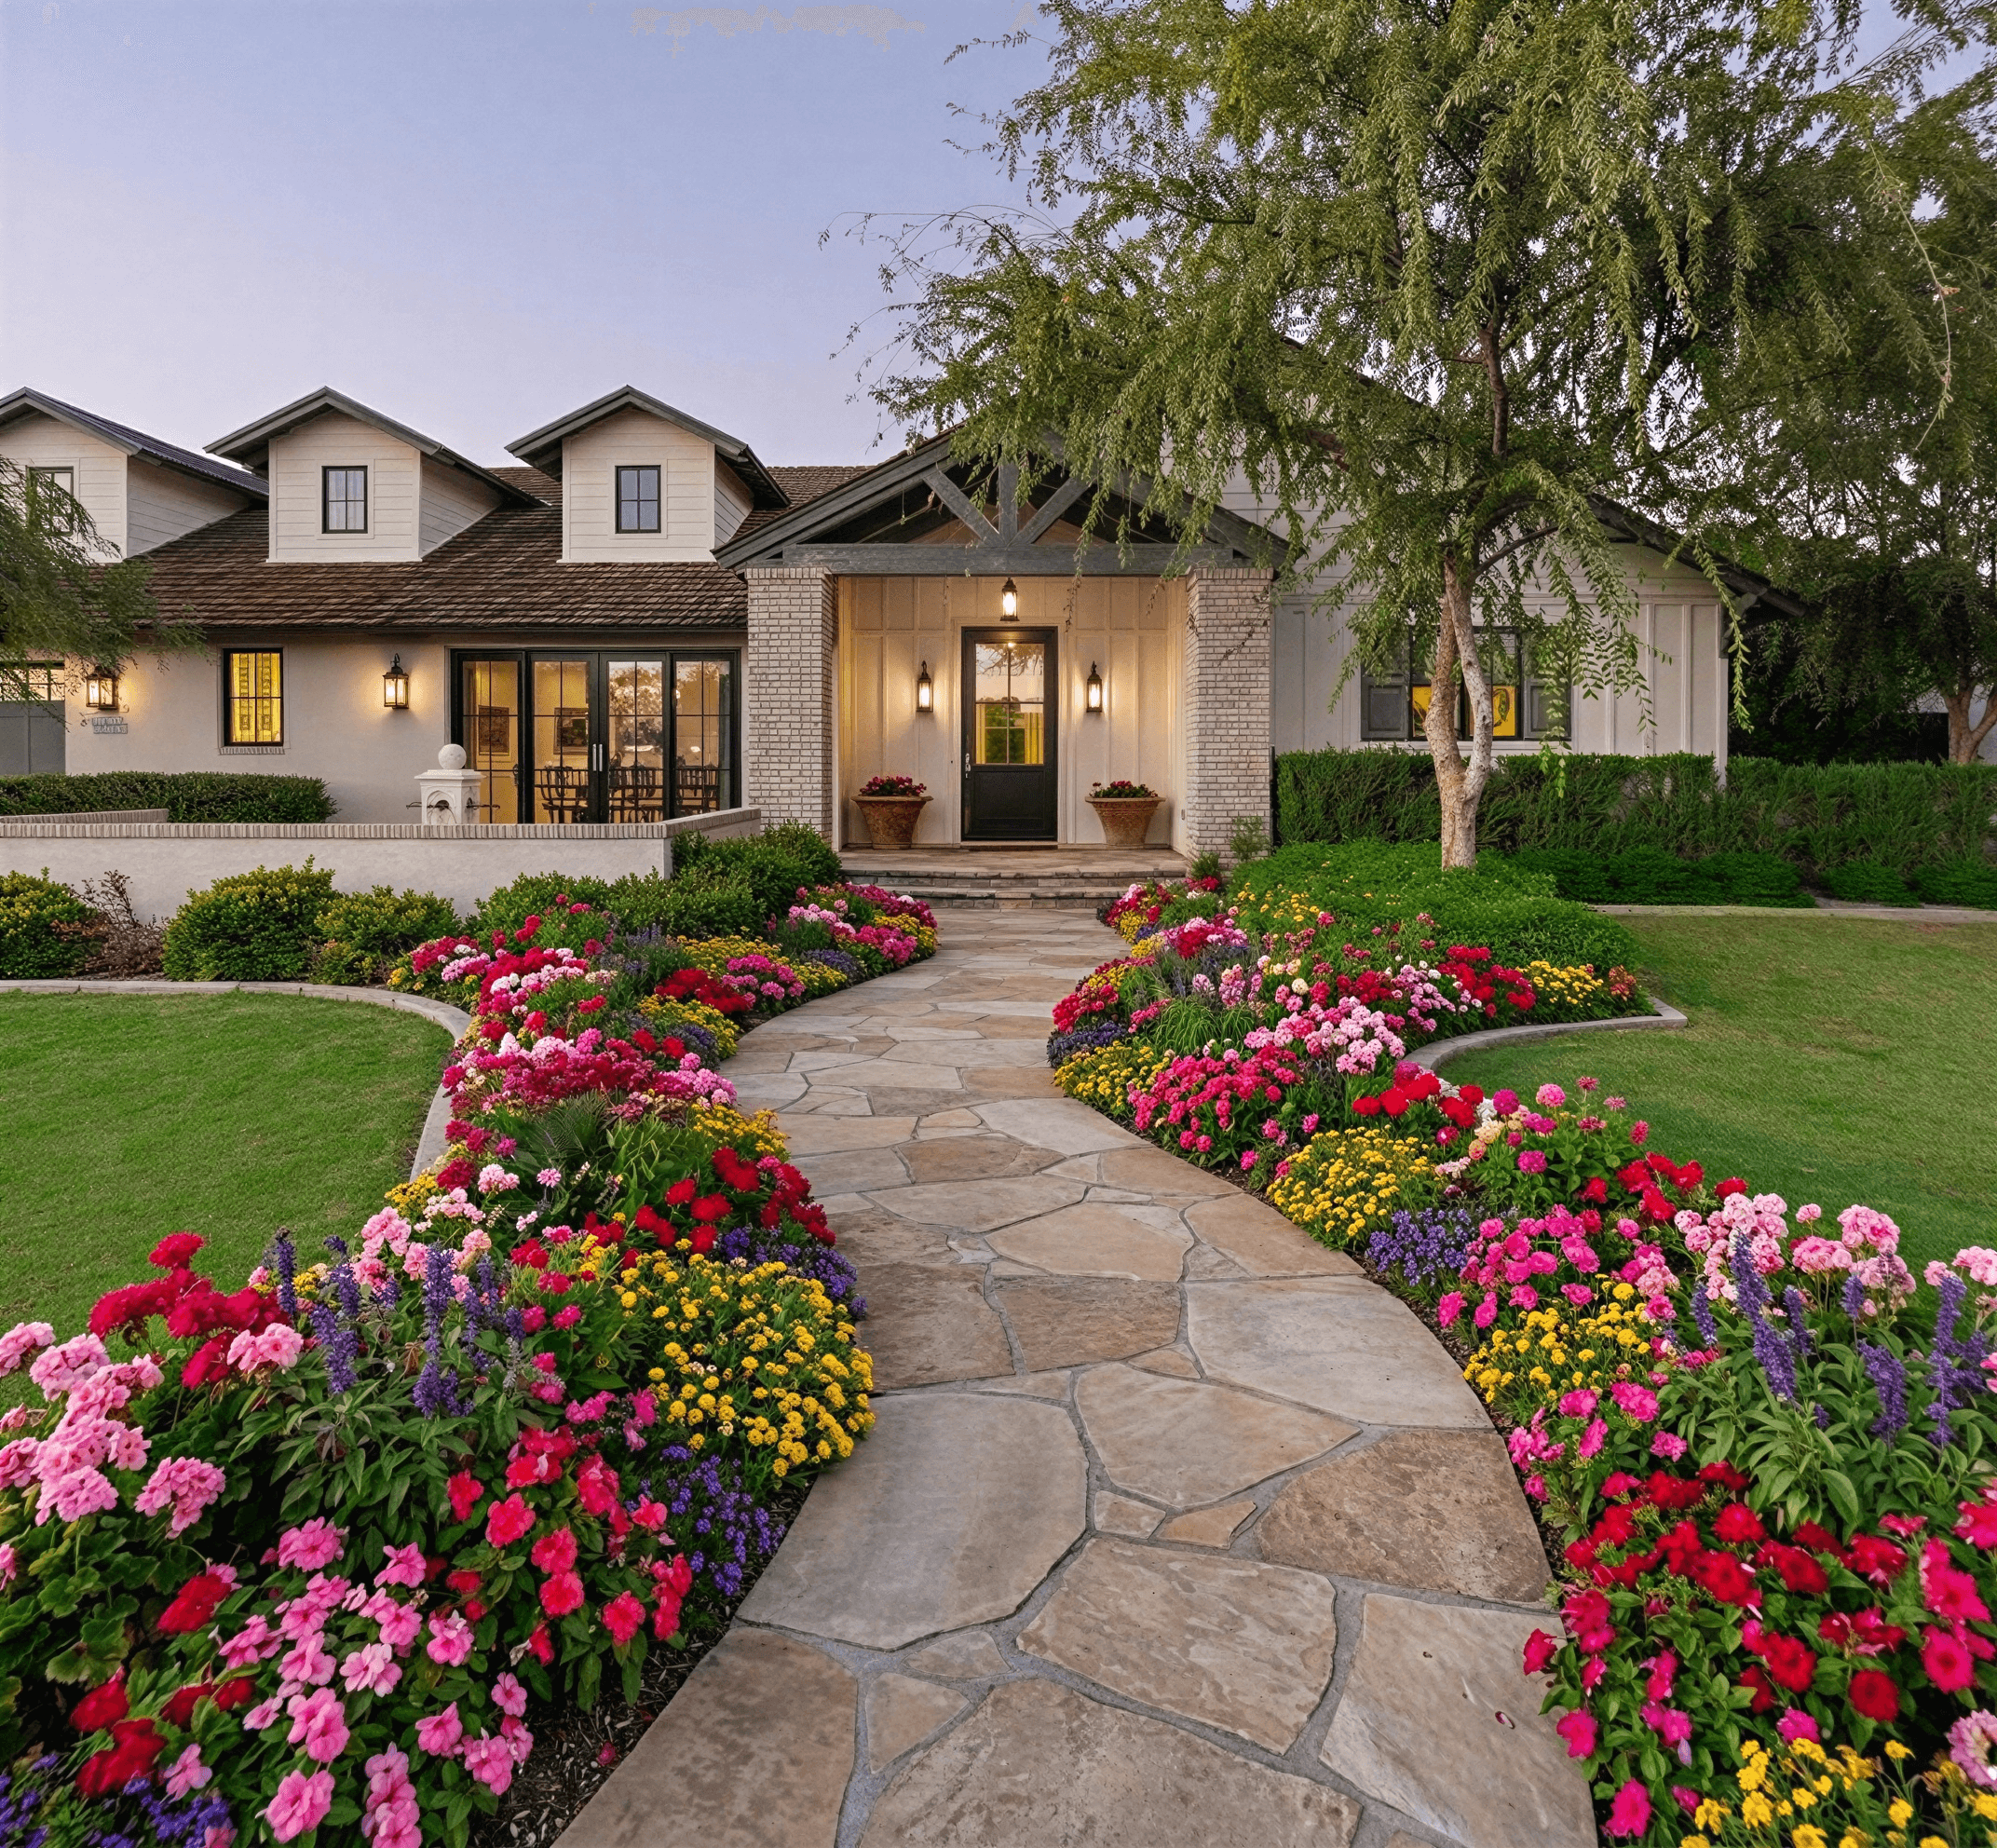
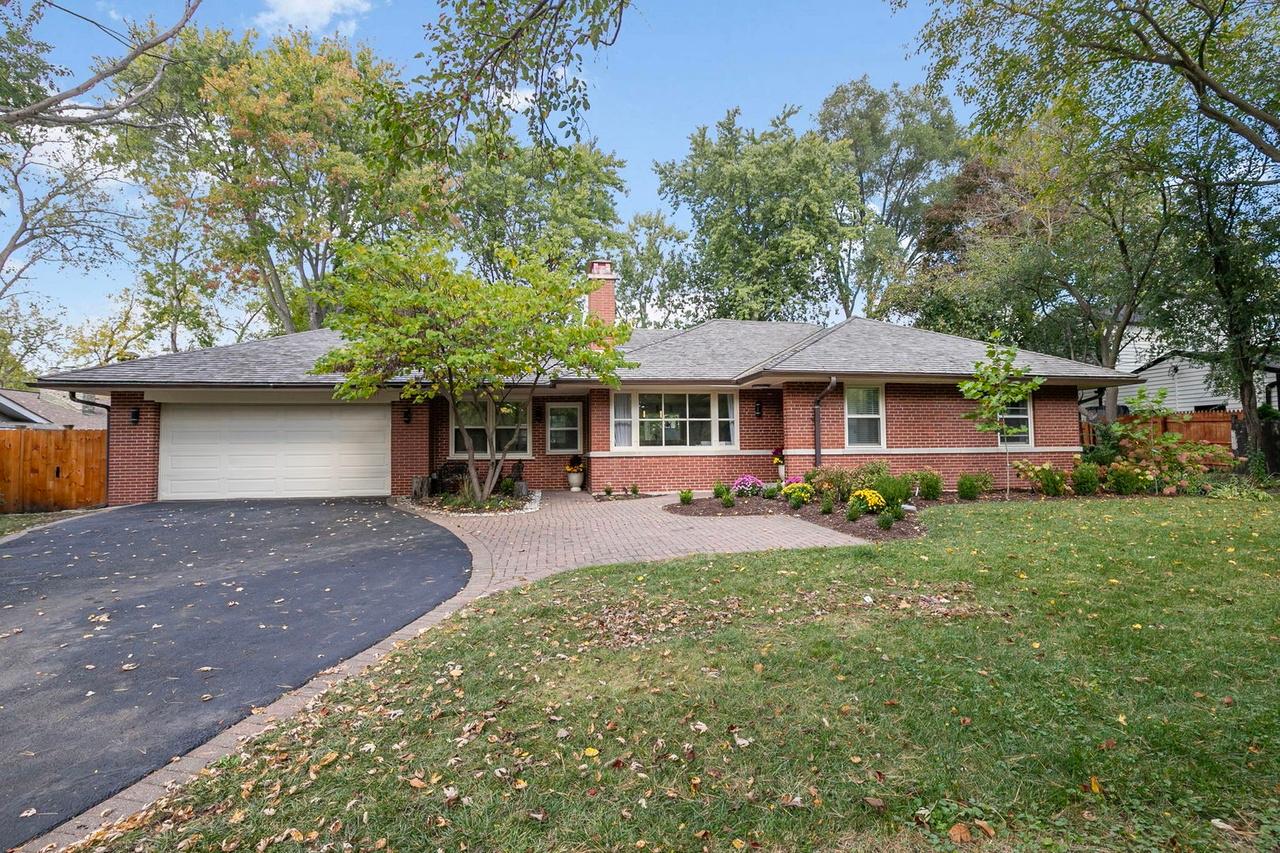
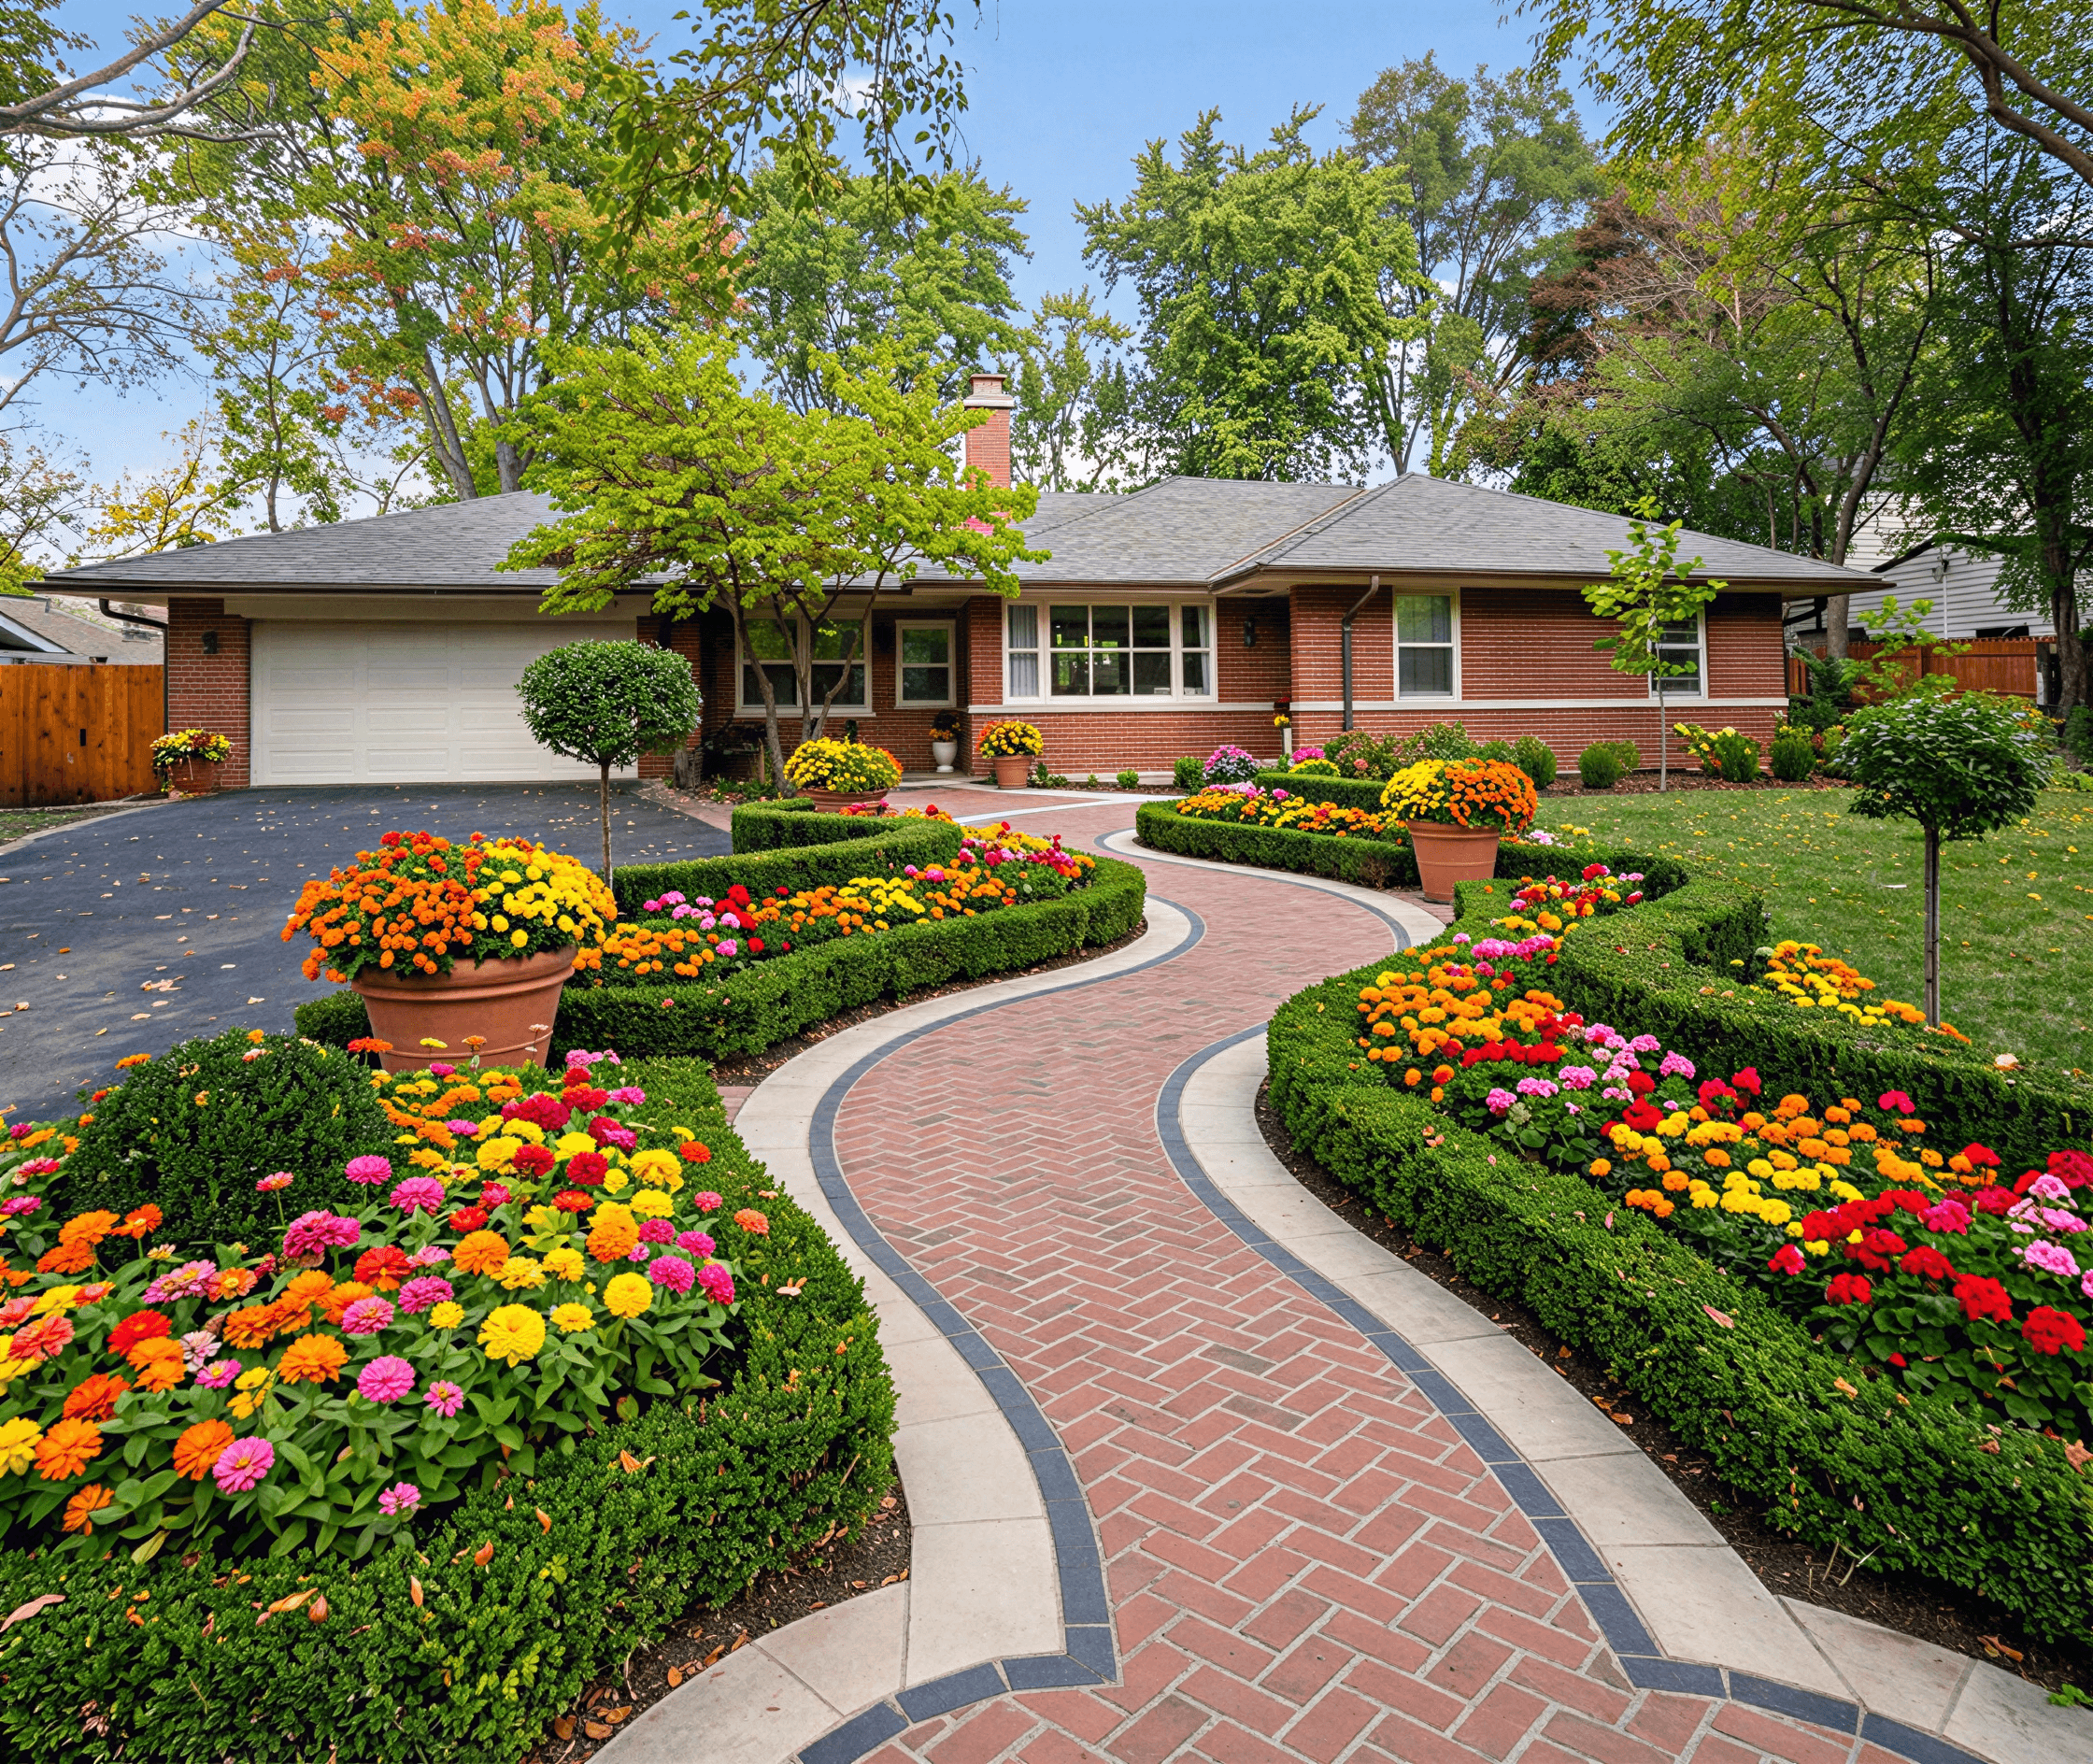
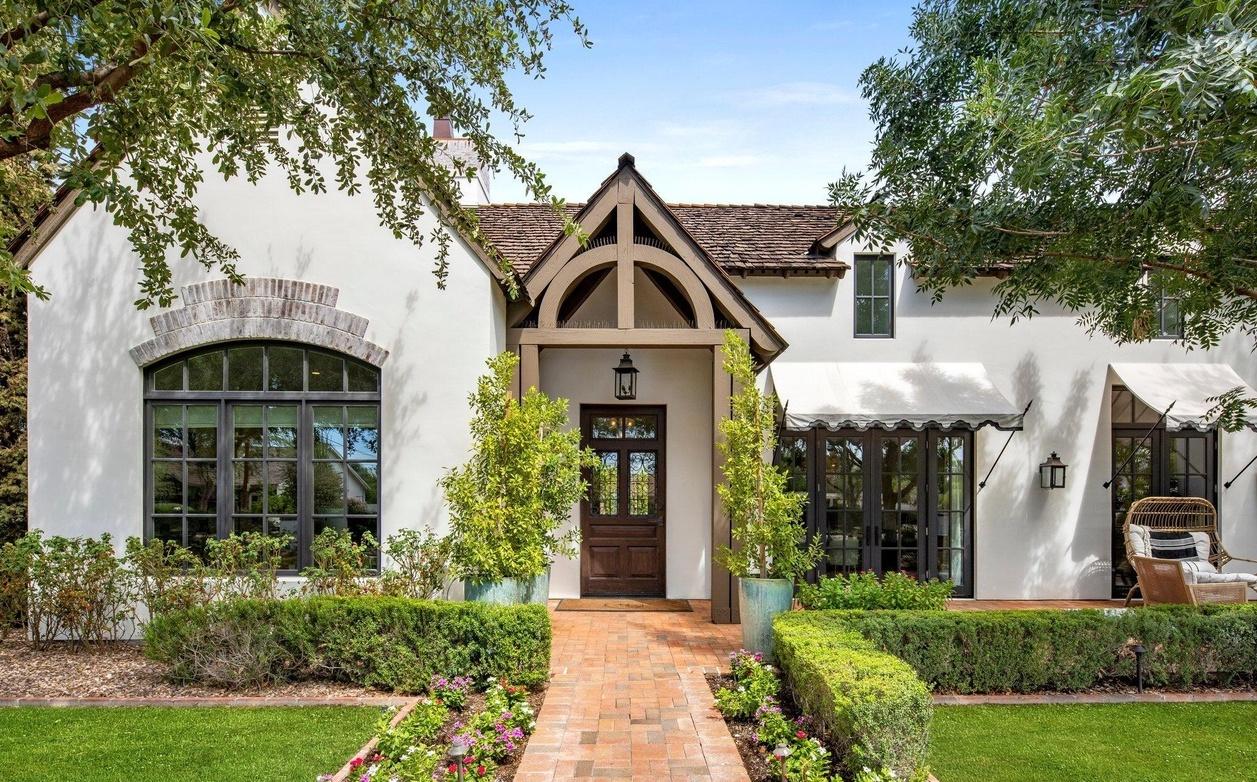
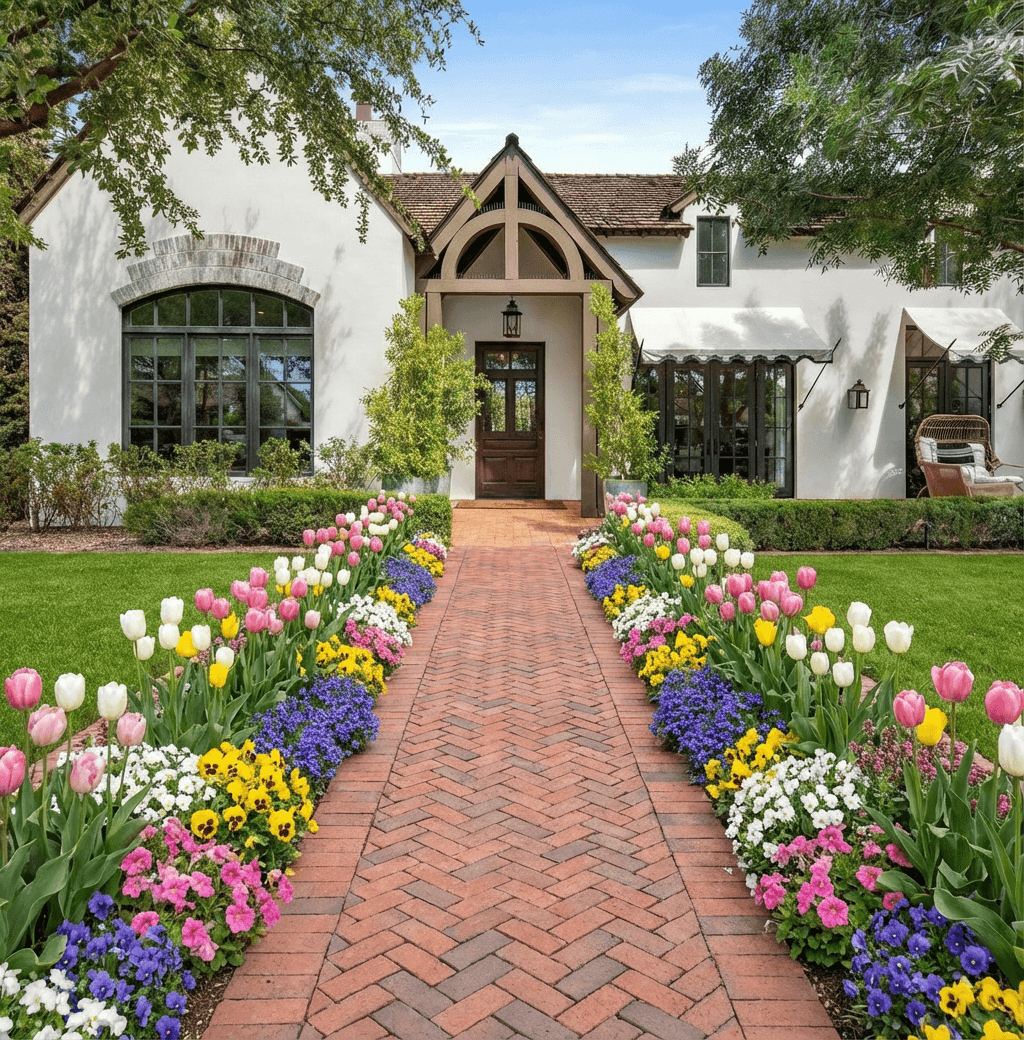
Curb Appeal AI is one option for that early planning stage. It lets you upload a property photo, test styles such as Desert/Xeriscaping, and preview plant and material layouts before any demolition starts. Used correctly, a tool like this helps you compare concepts, communicate with a contractor, and catch mismatches between inspiration photos and your actual architecture.
A rendering won’t replace site knowledge, but it can stop a lot of expensive second-guessing. That matters when layout, hardscape, and irrigation all depend on the same plan.
A simple design checklist
Before you finalize the layout, review it against practical use:
| Design question | What to check |
|---|---|
| Entry sequence | Is the path clear, comfortable, and visually obvious? |
| Plant spacing | Are mature sizes accounted for, or are plants packed too tightly? |
| Irrigation logic | Can plants with similar water needs share a zone? |
| Sightlines | Do windows, doors, and street views still feel open enough? |
| Maintenance access | Can you reach valves, prune shrubs, and refresh mulch without fighting the layout? |
Homeowners often rush this stage because they’re eager to see progress. That’s understandable. But design errors are expensive because they ripple outward. A misplaced path affects grading. Poor spacing affects pruning. Weak zoning affects irrigation. Getting the blueprint right keeps the whole installation cleaner.
Choose Plants That Thrive Not Just Survive
Plant selection is where many xeriscaping projects go off course. The yard may have been assessed well. The layout may look polished. Then someone buys plants based on appearance alone, and the project starts unraveling a season later.

A major reason is plant-climate mismatch. As Proven Winners notes in its drought-resistant landscaping guidance, a primary failure in drought-tolerant landscaping is the mismatch between plant selection and hardiness zone compatibility. Homeowners often don’t get enough guidance on checking updated USDA zones, local conditions, and whether a plant that looks right online is suitable for their yard.
That’s why the right question isn’t “What’s drought tolerant?” It’s “What’s drought tolerant here?”
Choose by function first
When people shop by flower color first, they often end up with a scattered design. Start with function instead. Decide what each plant needs to do.
Common roles include:
- Focal point plants: Agave, sculptural shrubs, or a small tree that gives the eye somewhere to land.
- Softening plants: Mounding perennials or grasses that make stone and gravel feel less harsh.
- Groundcovers: Low growers that reduce bare soil and visually connect planting beds. If you’re comparing options, these ground cover alternatives to grass are a practical place to start.
- Screening plants: Taller shrubs placed where privacy or visual separation matters.
- Pollinator-supporting accents: Flowering species that add seasonal movement and activity.
Match four traits every time
A plant belongs in your design only if it matches all four of these:
-
Hardiness and climate fit
Check whether it can handle your winter lows and summer heat. -
Sun exposure
Full sun in a catalog photo may not match full sun against a west-facing wall. -
Water needs
Avoid mixing very low-water plants with thirstier companions in the same zone. -
Mature size
A plant that looks tidy in a nursery pot may become far too large for the bed edge, window line, or walkway.
Below is a simple planning table you can use while building a palette.
| Plant Type | Water Needs | Sun Exposure | Key Feature |
|---|---|---|---|
| Succulents | Low | Full sun | Strong architectural form |
| Ornamental grasses | Low to moderate | Full sun to part sun | Movement and texture |
| Native shrubs | Low to moderate | Varies by species | Climate-adapted structure |
| Mediterranean plants | Low to moderate | Full sun | Fragrance and long seasonal interest |
| Groundcovers | Varies by species | Varies by species | Soil coverage and visual cohesion |
For plant ideas with compact forms and sculptural texture, this roundup of low-maintenance succulents is useful, especially if you’re trying to fill hot, sunny pockets without creating a high-pruning bed.
Here’s a useful visual walkthrough before you finalize your list:
Reliable categories for beginners
You don’t need a rare plant collection to make a drought-tolerant yard look designed. In fact, beginners usually get better results by repeating dependable plant categories rather than collecting one of everything.
A balanced palette often includes:
- Succulents and agaves: Best used selectively as accents, not everywhere.
- Lavender-type Mediterranean plants: Good for scent, color, and structure in sunny beds.
- Ornamental grasses: Useful for movement and contrast against stone or broad-leaf plants.
- Native shrubs: Strong backbone plants that often adapt well to local rhythms.
- Small drought-adapted trees: Valuable for height, shade, and visual maturity.
Selection shortcut: If a plant only works when watered more often than its neighbors, it’s in the wrong zone or the wrong project.
Good plant selection should make the planting more stable over time. The goal isn’t a yard full of survivors barely hanging on. The goal is a planting plan that settles in, fills out, and looks increasingly natural with each season.
Build a Foundation with Smart Soil and Irrigation
A lot of drought-tolerant plantings look good on planting day and struggle later because the invisible systems were handled casually. Soil prep, irrigation layout, and mulch depth don’t get as much attention as plant shopping, but they determine whether the planting performs the way it should.

According to Yardzen’s drought-tolerant landscaping guide, inefficient spray irrigation can waste 30 to 50% of water, a 2 to 4 inch layer of mulch can reduce soil moisture evaporation by up to 70%, and proper hydrozoning helps prevent 20 to 40% plant loss seen in poorly planned conversions. Those aren’t small margins. They’re the difference between a stable outdoor space and one that always looks slightly off.
Why drip irrigation usually wins
Spray heads make sense for broad turf coverage. They’re a poor fit for mixed planting beds with shrubs, grasses, succulents, and perennials that all occupy different root zones.
Drip irrigation works better because it places water where roots need it. That means less overspray on paths, less evaporation in hot weather, and more control over how different areas are watered. It also forces better planning. You can’t hide a messy hydrozone behind a sprinkler arc for long.
When setting it up, pay attention to:
- Emitter placement: Water the root zone, not just the trunk or crown.
- Zone separation: Keep low-water plantings apart from moderate-water areas.
- Pressure consistency: Uneven flow creates weak spots in the bed.
- Leak checks: Small leaks erase efficiency quickly.
If you’re trying to fine-tune follow-up care after installation, these practical watering schedules for plants can help you think through establishment versus long-term maintenance.
Soil should support roots, not just hold plants upright
Drought-tolerant doesn’t mean soil doesn’t matter. In fact, the wrong soil condition can undo the benefit of a climate-appropriate plant palette.
Compacted ground blocks water infiltration and limits rooting. Fast-draining soil may need organic matter to hold moisture more evenly. Heavy soil may need structure improvements so roots aren’t sitting in persistent wetness after irrigation.
The goal is balance:
- Improve retention where soil dries too fast
- Improve structure where soil seals or compacts
- Avoid over-amending individual planting holes if the surrounding soil remains unchanged
Mulch is doing more work than most homeowners realize
Mulch often gets treated like a finishing touch. It’s not. It’s part of the water-management system.
Use it to:
- Slow evaporation: This is especially important around young plants.
- Suppress weeds: Weeds compete for moisture and make a new installation look rough.
- Moderate soil temperature: Root zones stay more stable through weather swings.
- Create visual unity: A consistent mulch layer ties mixed plants together.
Organic mulch works well in many beds. Gravel mulch can suit certain dry-climate aesthetics and plant types. The right choice depends on style, maintenance preference, and local conditions. What matters most is using enough coverage, keeping it off plant crowns, and treating it as functional, not decorative only.
Your Step-by-Step Installation Sequence
Once the design is settled, the installation should follow a clear order. Changing the sequence usually creates rework. People often want to plant first because that feels like progress, but it’s much easier to place plants after the structure, grade, and irrigation are in order.
Step 1, remove what no longer belongs
Start by clearing unwanted turf and any plants that don’t fit the new plan. For lawn removal, sheet mulching is often a practical method because it suppresses growth while building soil over time. In some cases, homeowners also use solarization, especially where full sun helps speed the process.
Don’t rush demolition. Mark trees to keep, note utility lines, and confirm bed edges before anything is torn out.
Step 2, correct grade and drainage
Before hardscape or planting begins, shape the site so water moves the way you want it to. That means protecting the house, avoiding low pockets that trap moisture where it shouldn’t sit, and making sure paths and beds relate cleanly to one another.
A rough grade that’s “good enough” rarely is. Even a thoughtful plant palette struggles if runoff slices through mulch or settles around roots.
Get the water movement right before you install the water system. Drainage mistakes are harder to fix later than almost any planting error.
Step 3, install hardscape before irrigation and planting
Put in paths, patios, edging, boulders, gravel bases, or retaining elements before softscape work starts. These pieces define the yard’s bones. They also determine where drip lines can run and how planting pockets are shaped.
This stage is where many front yards start looking intentional. Hardscape creates clean geometry and reduces the amount of irrigated area without making the yard feel stripped down.
Step 4, lay out irrigation with the plant plan beside you
Don’t install irrigation from memory. Keep the actual planting plan in hand and map the zones to that layout. If one bed is low water and another is moderate water, that needs to be reflected in the valve and emitter setup from the start.
Before covering anything, test the system. Watch for weak pressure, overwatered corners, or spots where emitters miss the root area entirely.
Step 5, place plants while they’re still in pots
Set everything out before digging. This gives you a chance to adjust spacing, improve rhythm, and make sure focal points land where they should.
Work in this order:
- Trees first, because they establish height and anchor the composition.
- Shrubs second, to build mass and screen where needed.
- Perennials and grasses next, to soften transitions.
- Groundcovers last, to close gaps and unify the planting bed.
Once placement looks right from both the street and the front door, plant at the proper depth. Then water in thoroughly so roots settle into contact with the surrounding soil.
Step 6, mulch at the end
Mulch goes on after planting and irrigation checks are complete. Spread it evenly, keep it off trunks and crowns, and make sure irrigation emitters aren’t buried too far down that you can’t inspect them.
The final layer does more than tidy the bed. It locks the whole installation together visually and helps protect the work you just did. A drought-tolerant installation starts looking established faster when the installation sequence is disciplined.
Enjoying Your Low-Maintenance Yard and Savings
The first season after installation is about establishment. The planted area still needs attention, especially around irrigation checks, weed control, and watching how plants respond to heat, shade, and spacing. After that, the workload usually becomes simpler and more predictable.

The long-term value becomes clearer once plants mature. As Bower & Branch explains in its guide to inexpensive drought-tolerant landscaping ideas, guides often cite water savings of 30 to 80%, but the payback period typically spans 2 to 3 years for plants to fully establish and deliver maximum water efficiency and maintenance reduction. That timeline is useful because it sets realistic expectations. A new xeriscape isn’t instantly finished. It settles in.
What maintenance actually looks like
Once established, most homeowners shift from constant rescue work to periodic care:
- Seasonal pruning: Shape plants and remove damaged growth.
- Irrigation checks: Confirm emitters are working and schedules still fit the season.
- Mulch refresh: Top up thin areas and keep coverage consistent.
- Weed removal: Catch weeds early before they seed into gravel or mulch beds.
- Plant editing: Move or remove anything that’s outgrowing its role.
That’s still maintenance. It’s just more intentional and less repetitive than feeding and watering a struggling lawn through every dry spell.
The payoff is more than utility savings
Water efficiency matters, but the benefits are broader. A well-designed drought-tolerant outdoor space usually looks better in hot weather than a lawn-dependent yard because it was built for those conditions. It can also reduce runoff, support pollinators when flowering species are included, and make the property look more regionally appropriate.
The biggest shift I see in practice is this: homeowners stop reacting and start managing. They’re no longer trying to keep an unsuitable garden alive. They’re maintaining one that fits the site.
A good xeriscape doesn’t ask for constant forgiveness. It asks for occasional care, then carries its own weight.
If you’re planning the project with realistic expectations, think in phases. The first phase is installation. The second is establishment. The third is enjoyment. That final phase is where drought-tolerant landscaping starts feeling less like a project and more like a smart permanent upgrade.
Frequently Asked Questions About Xeriscaping
A few concerns usually come up right before homeowners commit. Most of them aren’t really about plants. They’re about fear of getting the project wrong.
One helpful primer for the broader concept is Understanding What Xeriscaping Means, especially if you’re still separating the idea from the stereotype of a sparse rock yard. In practice, xeriscaping can be lush, layered, and highly designed when the plant palette fits the site.
Quick answers to common questions
| Question | Answer |
|---|---|
| Will my yard look dry or empty? | Not if the design uses layered planting, repeated forms, and strong ground-plane materials. Sparse results usually come from under-design, not from xeriscaping itself. |
| Do I have to remove all turf? | No. Some homeowners keep smaller lawn areas where they’re functional and worth the water. The key is using turf intentionally, not by default. |
| Can I do this in phases? | Yes. Many homeowners convert the most wasteful or highest-maintenance section first, then expand once they see how the new layout performs. |
| Are native plants the only option? | No. Native plants are often a strong choice, but adapted Mediterranean plants, succulents, and other climate-appropriate species can also work well. |
| What’s the biggest beginner mistake? | Planting for looks without checking climate fit, mature size, and irrigation compatibility. That’s what creates repeat replacement costs. |
A few final practical answers
If you’re unsure whether to hire help, decide based on grading, hardscape complexity, and irrigation work, not just plant count. A modest planting plan can still require professional installation if drainage or site access is difficult.
If you want the yard to photograph well for resale, prioritize clean bed lines, repeated plant groupings, and a clear entry path. Buyers respond to order. They don’t need to know the plant names to feel that the design looks finished.
If you’re hesitating because you’re afraid of making a costly visual mistake, that’s a reasonable concern. Most expensive errors happen before the first shovel hits the ground.
If you want to test drought-tolerant layouts before removing turf or buying plants, Curb Appeal AI lets you upload a photo of your property and preview climate-appropriate exterior concepts, including Desert/Xeriscaping styles, so you can compare ideas and move into installation with a clearer plan.