Drought-Resistant Landscaping: A Step-by-Step Guide
The average U.S. family uses about 50 gallons of water per day outdoors, and roughly one-third of residential water use, or about 9 billion gallons per day nationally, goes to lawns, plants, and irrigation systems, according to Ethical Markets’ summary of outdoor water use and policy shifts. That number changes how most homeowners see the yard. What looks like a simple patch of lawn is often the thirstiest part of the property.
Drought-resistant landscaping works when it’s treated as a design system, not a plant-shopping trip. The yards that hold up through heat, restrictions, and neglected weekends usually follow the same pattern: the site gets mapped first, the soil gets fixed before planting, irrigation is targeted, and plant choices match the exact conditions on the lot. Skip those steps, and even “low-water” plants can struggle.
I’ve seen the same mistake many times. Homeowners remove turf, buy a cart full of succulents and native plants, spread rock, and expect the space to become self-sustaining. Then one corner bakes, another stays soggy, and irrigation hits everything equally. The problem isn’t the idea. It’s the sequence.
The Foundation of Your Water-Wise Yard
A good drought-resistant design starts on paper. That’s not glamorous, but it’s where most of the water savings happen. The Xeriscape framework is useful here because it forces practical decisions early. It divides the yard into water-use zones, ideally with no more than 10% high-use area, 30% moderate-use, and at least 60% low-use, and when that zoning is done well it can achieve up to 50% water savings compared with traditional designs, as outlined in the University of Georgia Xeriscape methodology guide.

If you’re new to the concept, this xeriscaping overview is a useful companion because it frames the design logic behind water-wise designs without reducing them to “just use gravel.”
Map sun, shade, and heat pockets
Don’t rely on memory. Walk the yard morning, midday, and late afternoon. Note where the sun stays longest, where walls reflect heat, where downspouts dump water, and where fences create dry shade.
Most problem areas reveal themselves fast:
- South and west exposures usually dry out first and punish plants that looked fine in the nursery.
- Areas near pavement often run hotter than the rest of the yard.
- Low spots can hold moisture longer than expected, even in dry climates.
- Entry zones and entertaining areas usually deserve the highest visual attention, which often makes them your only true high-use water zone.
Practical rule: Design for the harshest condition in each area, not the average condition of the property.
That single shift prevents a lot of plant loss. A front foundation bed beside reflective stucco doesn’t behave like a side yard under a mature tree, even if they’re only a few steps apart.
Learn what your soil actually does
Soil controls more than fertility. It controls drainage, root expansion, and whether irrigation soaks in or runs off. The easiest homeowner-level test is still the most useful: wet the area, dig a small sample, and handle it. Sandy soil falls apart quickly and drains fast. Clay stays sticky, compacts easily, and often needs slower watering cycles.
You’re not trying to become a soil scientist. You’re trying to answer three job-site questions:
- Does water infiltrate or pool
- Does the soil crust over after irrigation
- Can roots realistically move outward from the planting hole
If the answer to the third question is no, drought tolerance never really develops. The plant remains trapped in a small, pampered root zone and declines when irrigation is reduced.
Build a hydrozone map before you choose plants
Professionals save water and avoid callbacks through hydrozoning, which means grouping plants with similar water needs together so one valve or watering pattern isn’t trying to serve opposites.
A simple residential map usually includes:
| Zone | Best use | How to think about it |
|---|---|---|
| High-use | Entry, small seating area, a feature bed | Reserve for places you see every day |
| Moderate-use | Mixed borders, transition spaces | Plants may need occasional support |
| Low-use | Large outer beds, slopes, parkway strips | Water mostly during establishment |
Keep the high-use area small. That’s where people get in trouble. They keep a large patch of thirsty lawn “for looks,” then the whole drought-resistant landscaping plan starts orbiting around that one decision.
The yard doesn’t need to be uniformly green to feel finished. It needs clear structure, healthy plants, and a plan that matches how the space is actually used.
Building a Resilient Base with Soil and Mulch
Most failed low-water designs don’t fail because the plants were wrong. They fail because the ground was never prepared to hold moisture, release it slowly, and support root growth. Soil and mulch do that heavy lifting long before the irrigation schedule gets any credit.
Homeowners who switch to drought-tolerant landscaping can reduce outdoor water use by as much as 60%, and this shift has helped drive a 6.5% compound annual growth rate in the landscaping industry, according to LawnStarter’s analysis of drought-tolerant landscaping adoption and industry practices. That demand has also pushed more contractors toward drip irrigation, smart controllers, and sustainable hardscape materials. The common thread is simple. Better performance starts below the plant canopy.

Amend for function, not just fertility
The goal of soil amendment in drought-resistant landscaping isn’t to create a fluffy vegetable bed everywhere. It’s to improve structure so water moves into the soil profile instead of sheeting off the surface.
Organic matter usually gives the biggest return because it helps soil hold moisture more evenly while also improving texture. In tight soils, that means less compaction. In fast-draining soils, it means the root zone doesn’t dry out immediately after watering.
A few practical rules help:
- Work amendments into the broader bed area, not just the planting hole.
- Match the amendment to the site problem. Compaction and crusting need a different response than rapid drainage.
- Avoid overcorrecting. Extremely rich pockets can discourage roots from expanding into native soil.
If your beds seem to dry too fast even after watering, Leaves & Soul's soil care tips offer a solid troubleshooting checklist for moisture loss, compaction, and organic matter depletion.
Mulch is moisture control, temperature control, and weed control
Mulch isn’t decorative filler. It’s part of the irrigation strategy. In the Xeriscape method, mulch applied at 2 to 4 inches helps cut evaporation, and that matters just as much as plant selection when summer heat settles in.
Use the mulch type that fits the planting style:
- Wood chips or shredded bark work well in mixed planting beds, around shrubs, and under trees. They cool the soil and gradually contribute organic matter.
- Gravel or stone mulch suits desert-style beds and plants that prefer sharper drainage and drier crowns.
- Blended designs often use both. Organic mulch in rooted beds, mineral mulch in accent areas and around architectural plants.
What doesn’t work is skimping on depth or piling mulch against trunks and stems. Thin mulch breaks down into a cosmetic layer that barely suppresses weeds. Mulch pressed against plant crowns traps moisture where many drought-tolerant species want airflow.
A clean mulch line around the root zone usually does more for plant stability than another round of fertilizer.
Shape the site to catch water
Flat grading isn’t always your friend. A well-shaped yard directs rainfall into planting areas and away from problem spots. Gentle swales, slight bed depressions, and thoughtful slope adjustments help the grounds retain moisture.
Three simple moves are worth considering:
- Slope beds away from the house so water doesn’t collect against foundations.
- Create shallow basins around trees and larger shrubs during establishment.
- Use low points intentionally for plants that can handle a bit more moisture.
This is also where hard edges matter. If a patio, walkway, or driveway sends runoff toward a bed, use that instead of fighting it. The best drought-resistant designs don’t only reduce irrigation. They make better use of natural water movement across the lot.
Choosing Your Climate-Appropriate Plant Palette
Recent USDA hardiness zone updates shifted many planting zones warmer, which is one reason old plant lists fail so often. Broad regional advice still helps, but it does not account for heat reflected off a driveway, a windy side yard, or a front bed that bakes from noon to six. Plant choice gets easier once the yard is broken into those real conditions instead of treated as one uniform site.

Homeowners usually stall here for a simple reason. Nurseries sell plants one pot at a time, but good low-water design is built in layers. If those layers are missing, the yard looks patchy in year one and overgrown by year three.
Start by assigning roles.
Start with plant roles, not plant names
A dependable plant palette usually includes five jobs:
- Groundcovers to knit soil together and reduce bare, heat-radiating gaps
- Perennials for seasonal color and pollinator value
- Shrubs for structure through every month, not just bloom season
- Grasses or grass-like plants for movement and contrast
- Trees or large accent plants for shade, scale, and visual anchor points
This keeps the plan organized and makes phased installation much easier. If the budget only covers one zone this season, the bed still reads as intentional because each layer is represented.
I see one mistake often in modern front yards. The plant list leans too hard on succulents because the photos look clean and low maintenance. Succulents work well as accents, but a full bed of rigid forms can feel thin, hot, and repetitive, especially near paving. Better results usually come from mixing them with a broader base of shrubs, spreading plants, and softer textures.
Use native and adapted plants with a site-by-site filter
Native plants often make the strongest backbone because they are already suited to local rainfall patterns, temperature swings, and seasonal stress. Adapted plants also earn a place, especially in tough urban lots where reflected heat, compacted soil, or HOA expectations narrow the options.
If you need examples for a humid Southern context, Atlanta xeriscaping by Richmond Tree Experts is helpful because it shows that water-wise planting is not limited to desert-style yards.
The practical filter is simple. Match plants to four conditions before looking at flower color:
- Sun exposure
- Drainage speed
- Mature size
- Cold and heat tolerance
That fourth point matters more than many homeowners expect. A plant can survive your average conditions and still fail in one bad winter, one heat dome, or one week of saturated soil. I would rather specify a plant that looks 15% less exciting in a nursery pot and performs for ten years than one that peaks fast and declines after its second season.
For regional inspiration, native plant landscaping ideas by state can help narrow the shortlist before you buy.
Build a palette that still looks good after bloom
A strong planting scheme is edited. Fewer species, repeated with discipline, usually look better and cost less to install than a collector’s mix.
Here is a useful way to judge combinations:
| Plant type | What works well | Common mistake |
|---|---|---|
| Succulents | Structure, heat tolerance, strong focal moments | Repeating one form so often that the bed feels stiff |
| Native perennials | Seasonal bloom, habitat support, local fit | Ignoring spread, flop, or off-season appearance |
| Ornamental grasses | Motion, rhythm, drought tolerance | Using too many similar heights and textures |
| Shrubs | Year-round mass and screening | Choosing varieties that outgrow walks and windows |
| Trees | Shade, cooling, long-term hierarchy | Planting without enough root room or establishment space |
Good combinations carry visual weight even when nothing is flowering. That usually means mixing four elements in each bed:
- An evergreen or architectural anchor
- A mid-height filler that softens the composition
- A seasonal bloomer
- A low spreading plant that ties the bed together
This is also where homeowners can save money by planning in phases. Install the trees, main shrubs, and anchor plants first. Add perennials and smaller fillers in the next planting window. That approach protects the structure of the design, keeps the budget under control, and gives the larger plants time to settle before the bed gets crowded.
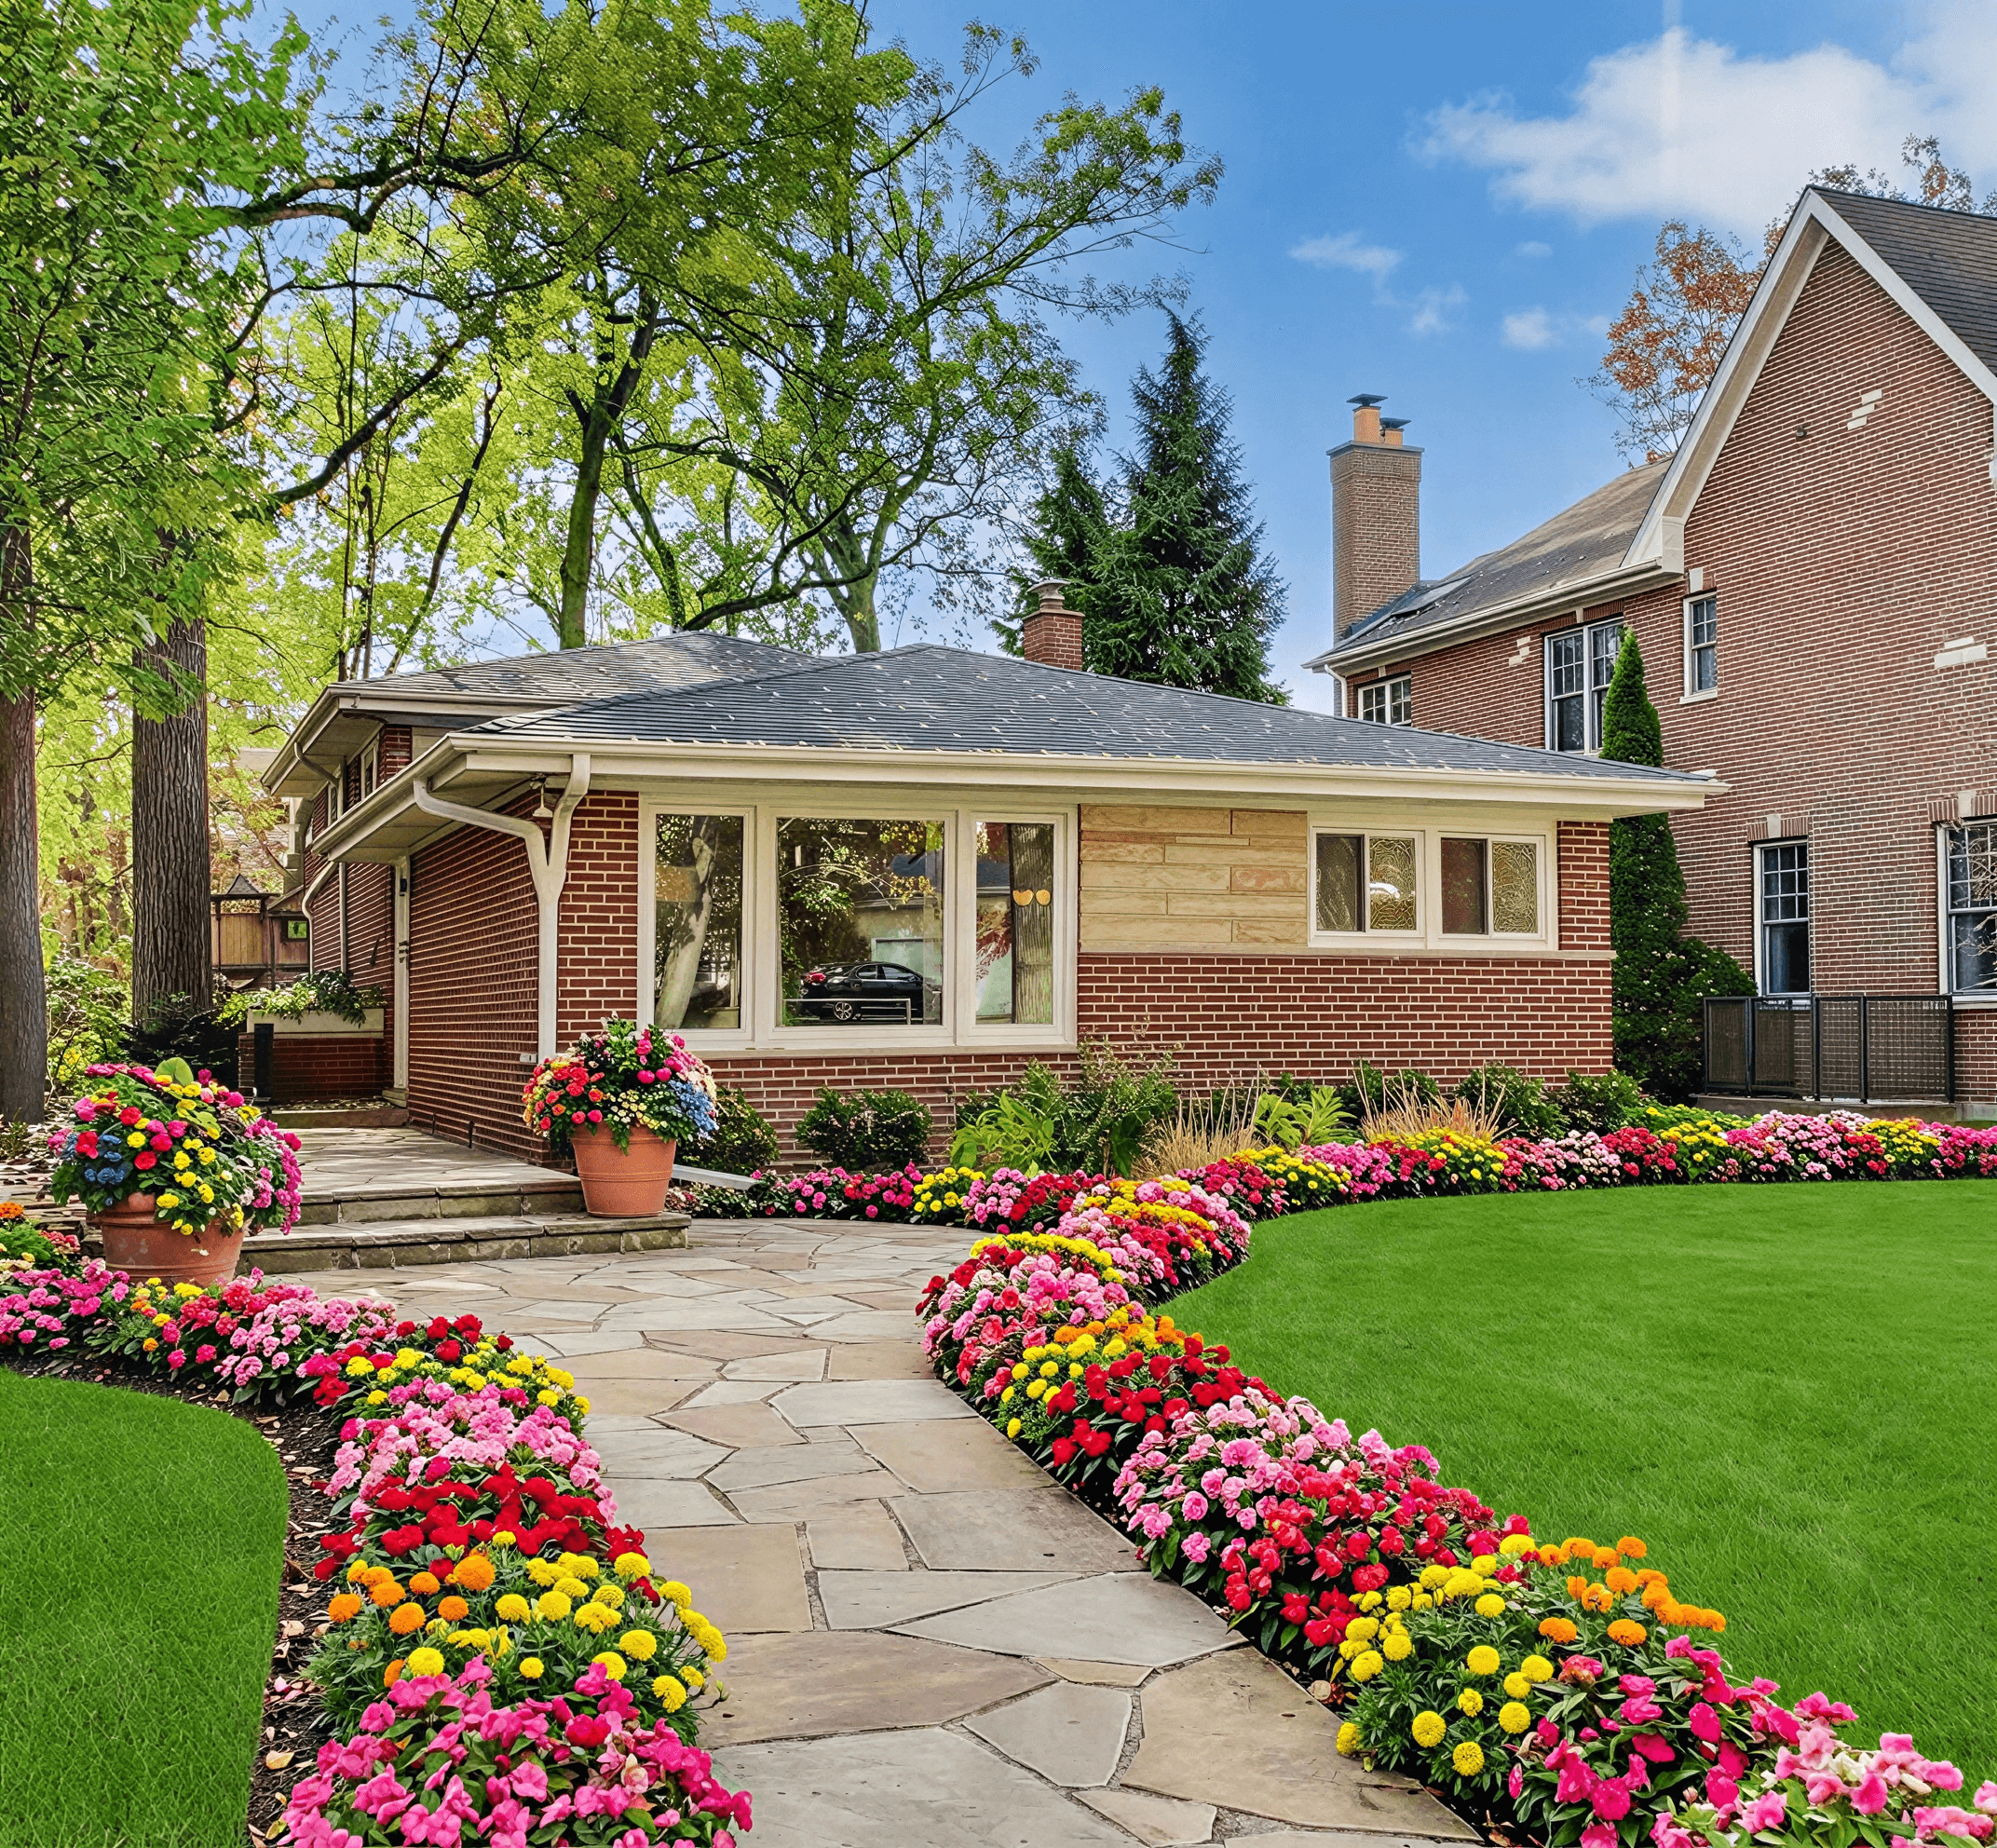
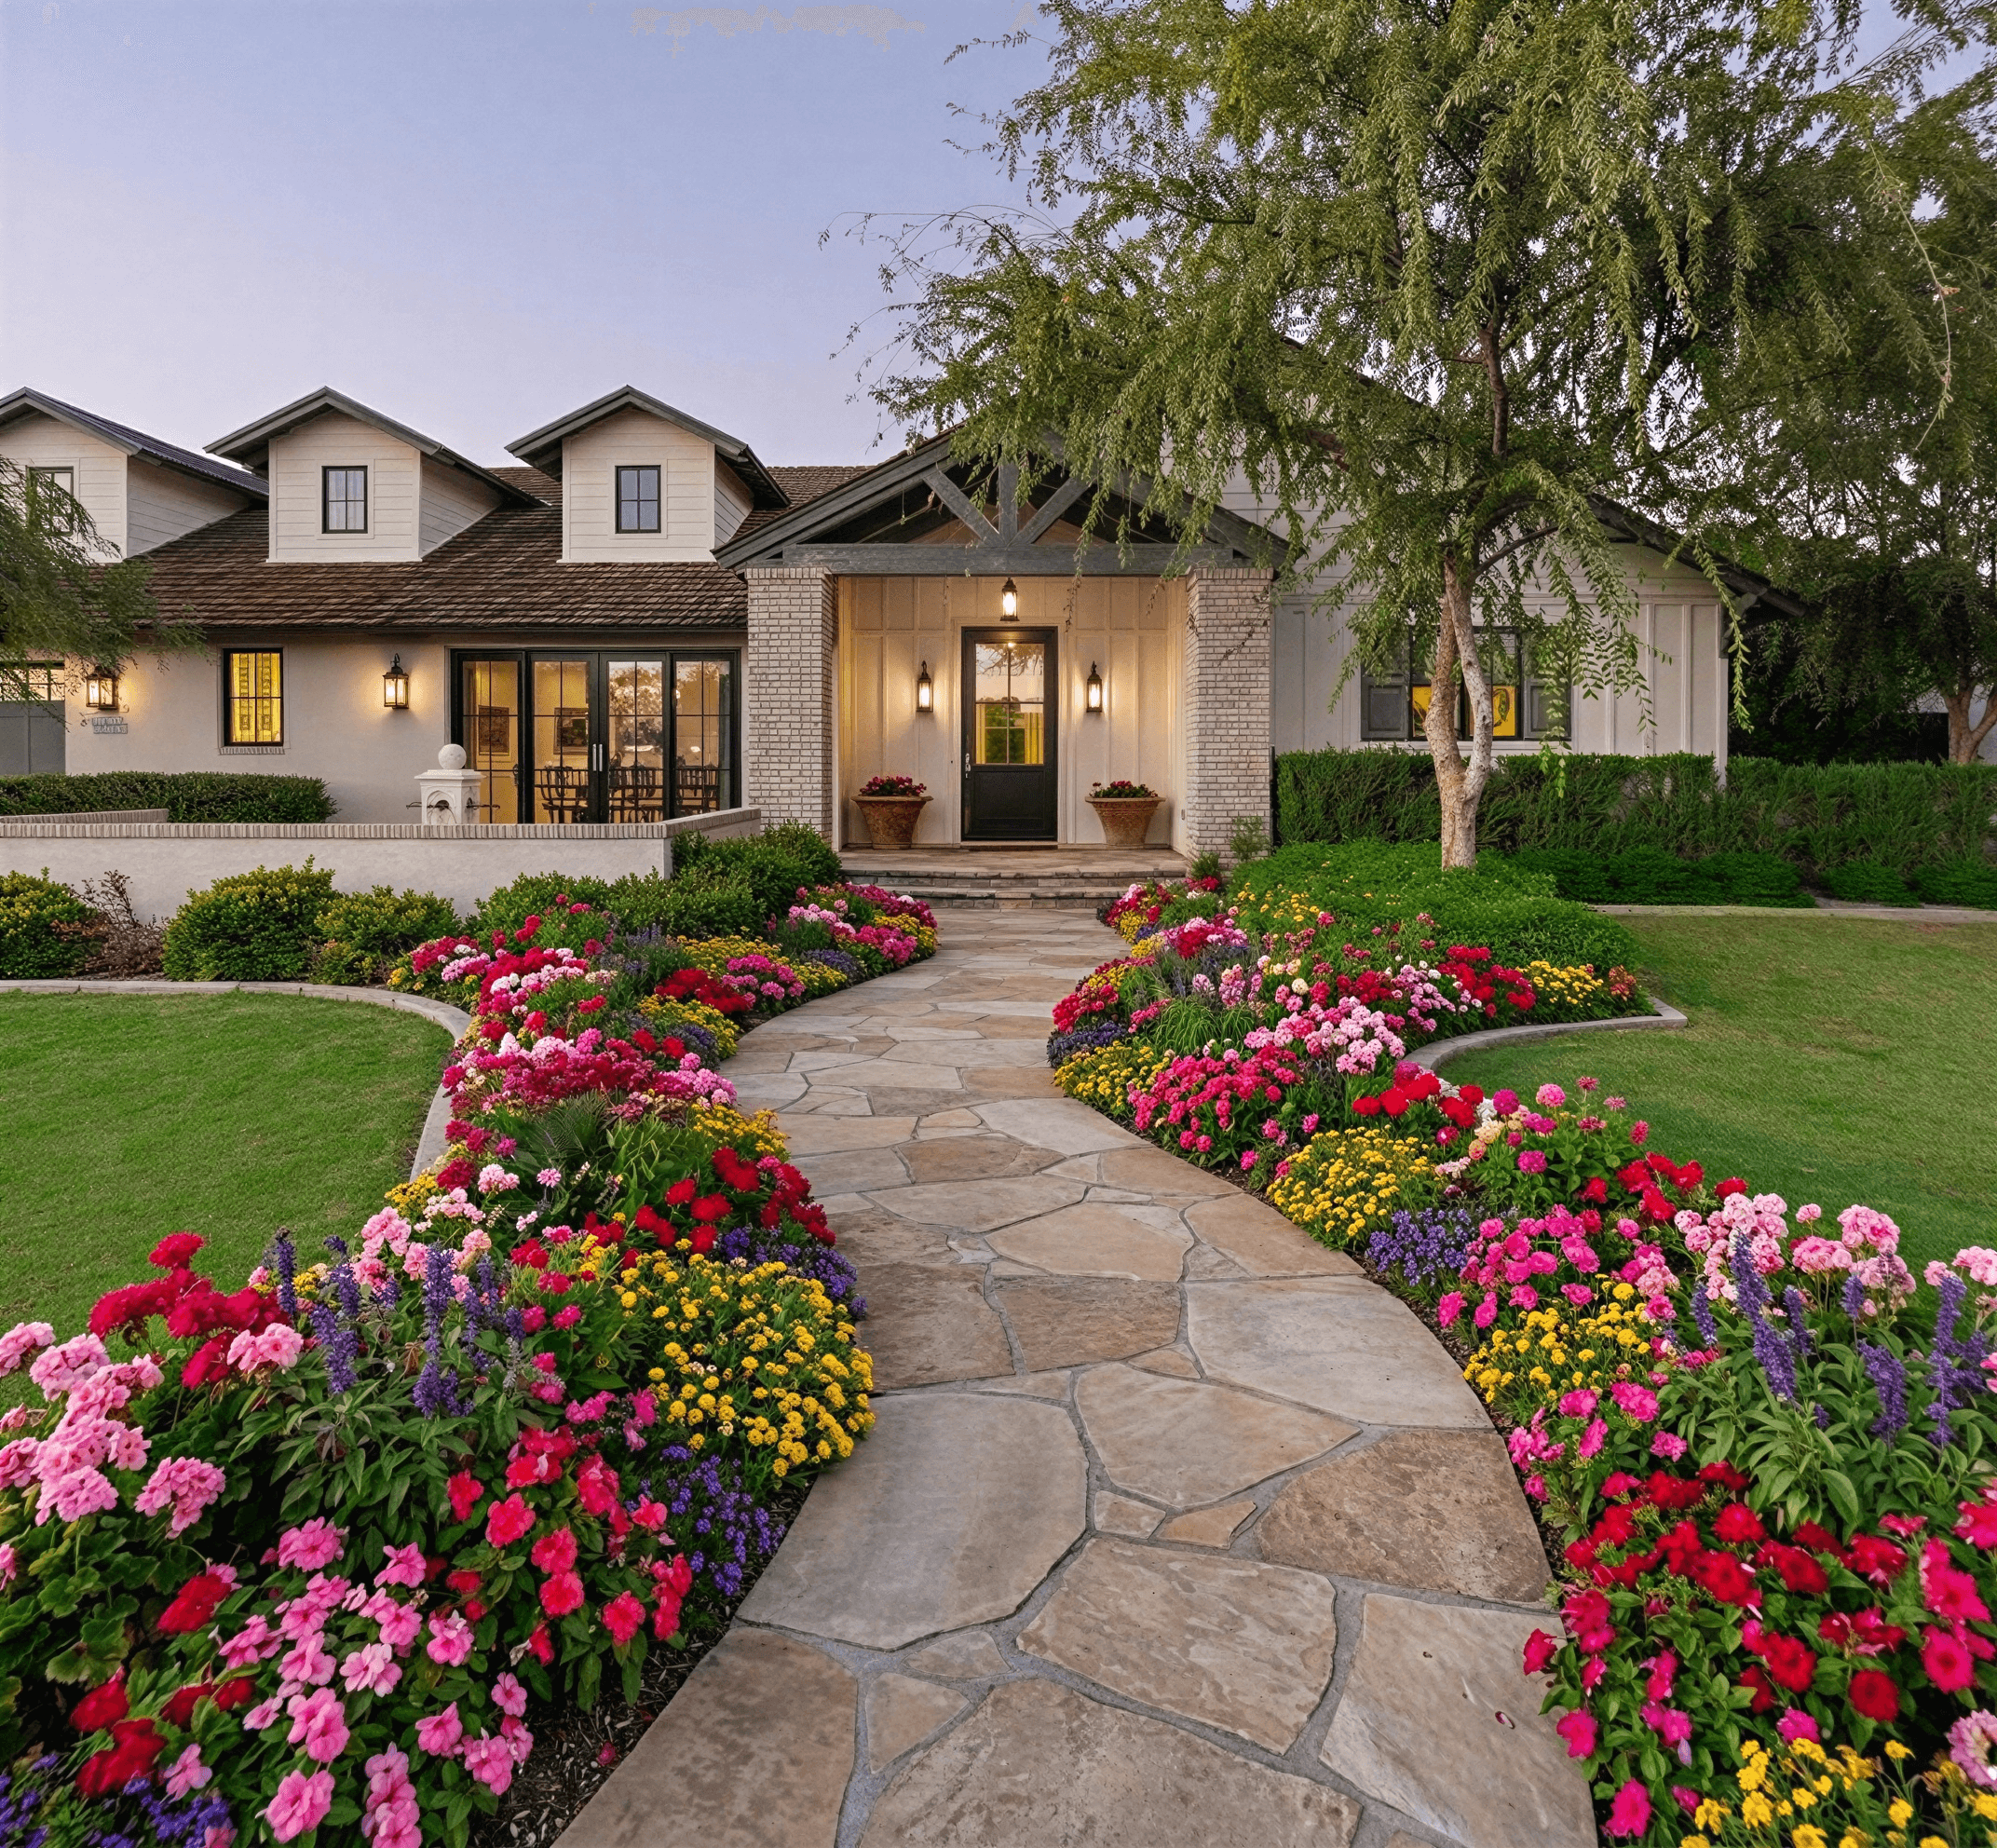
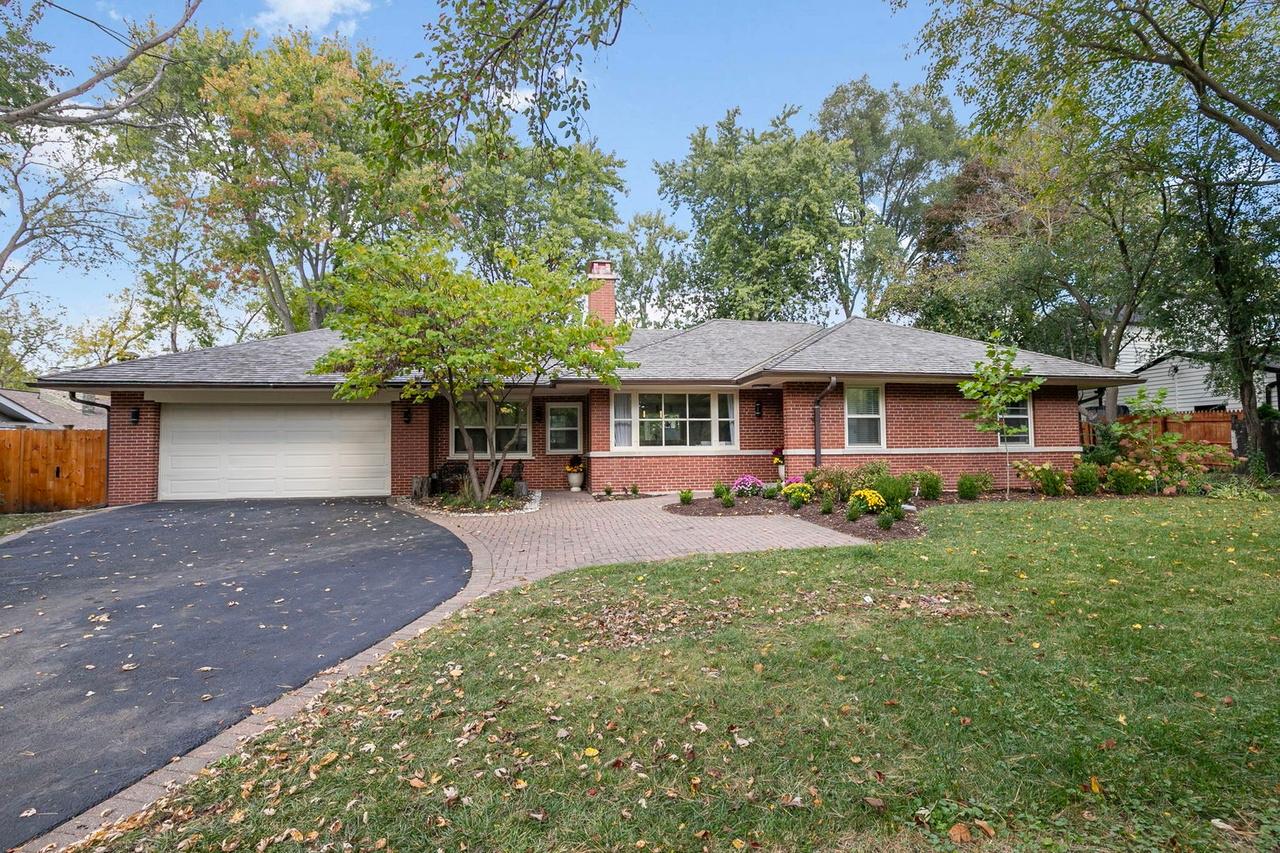
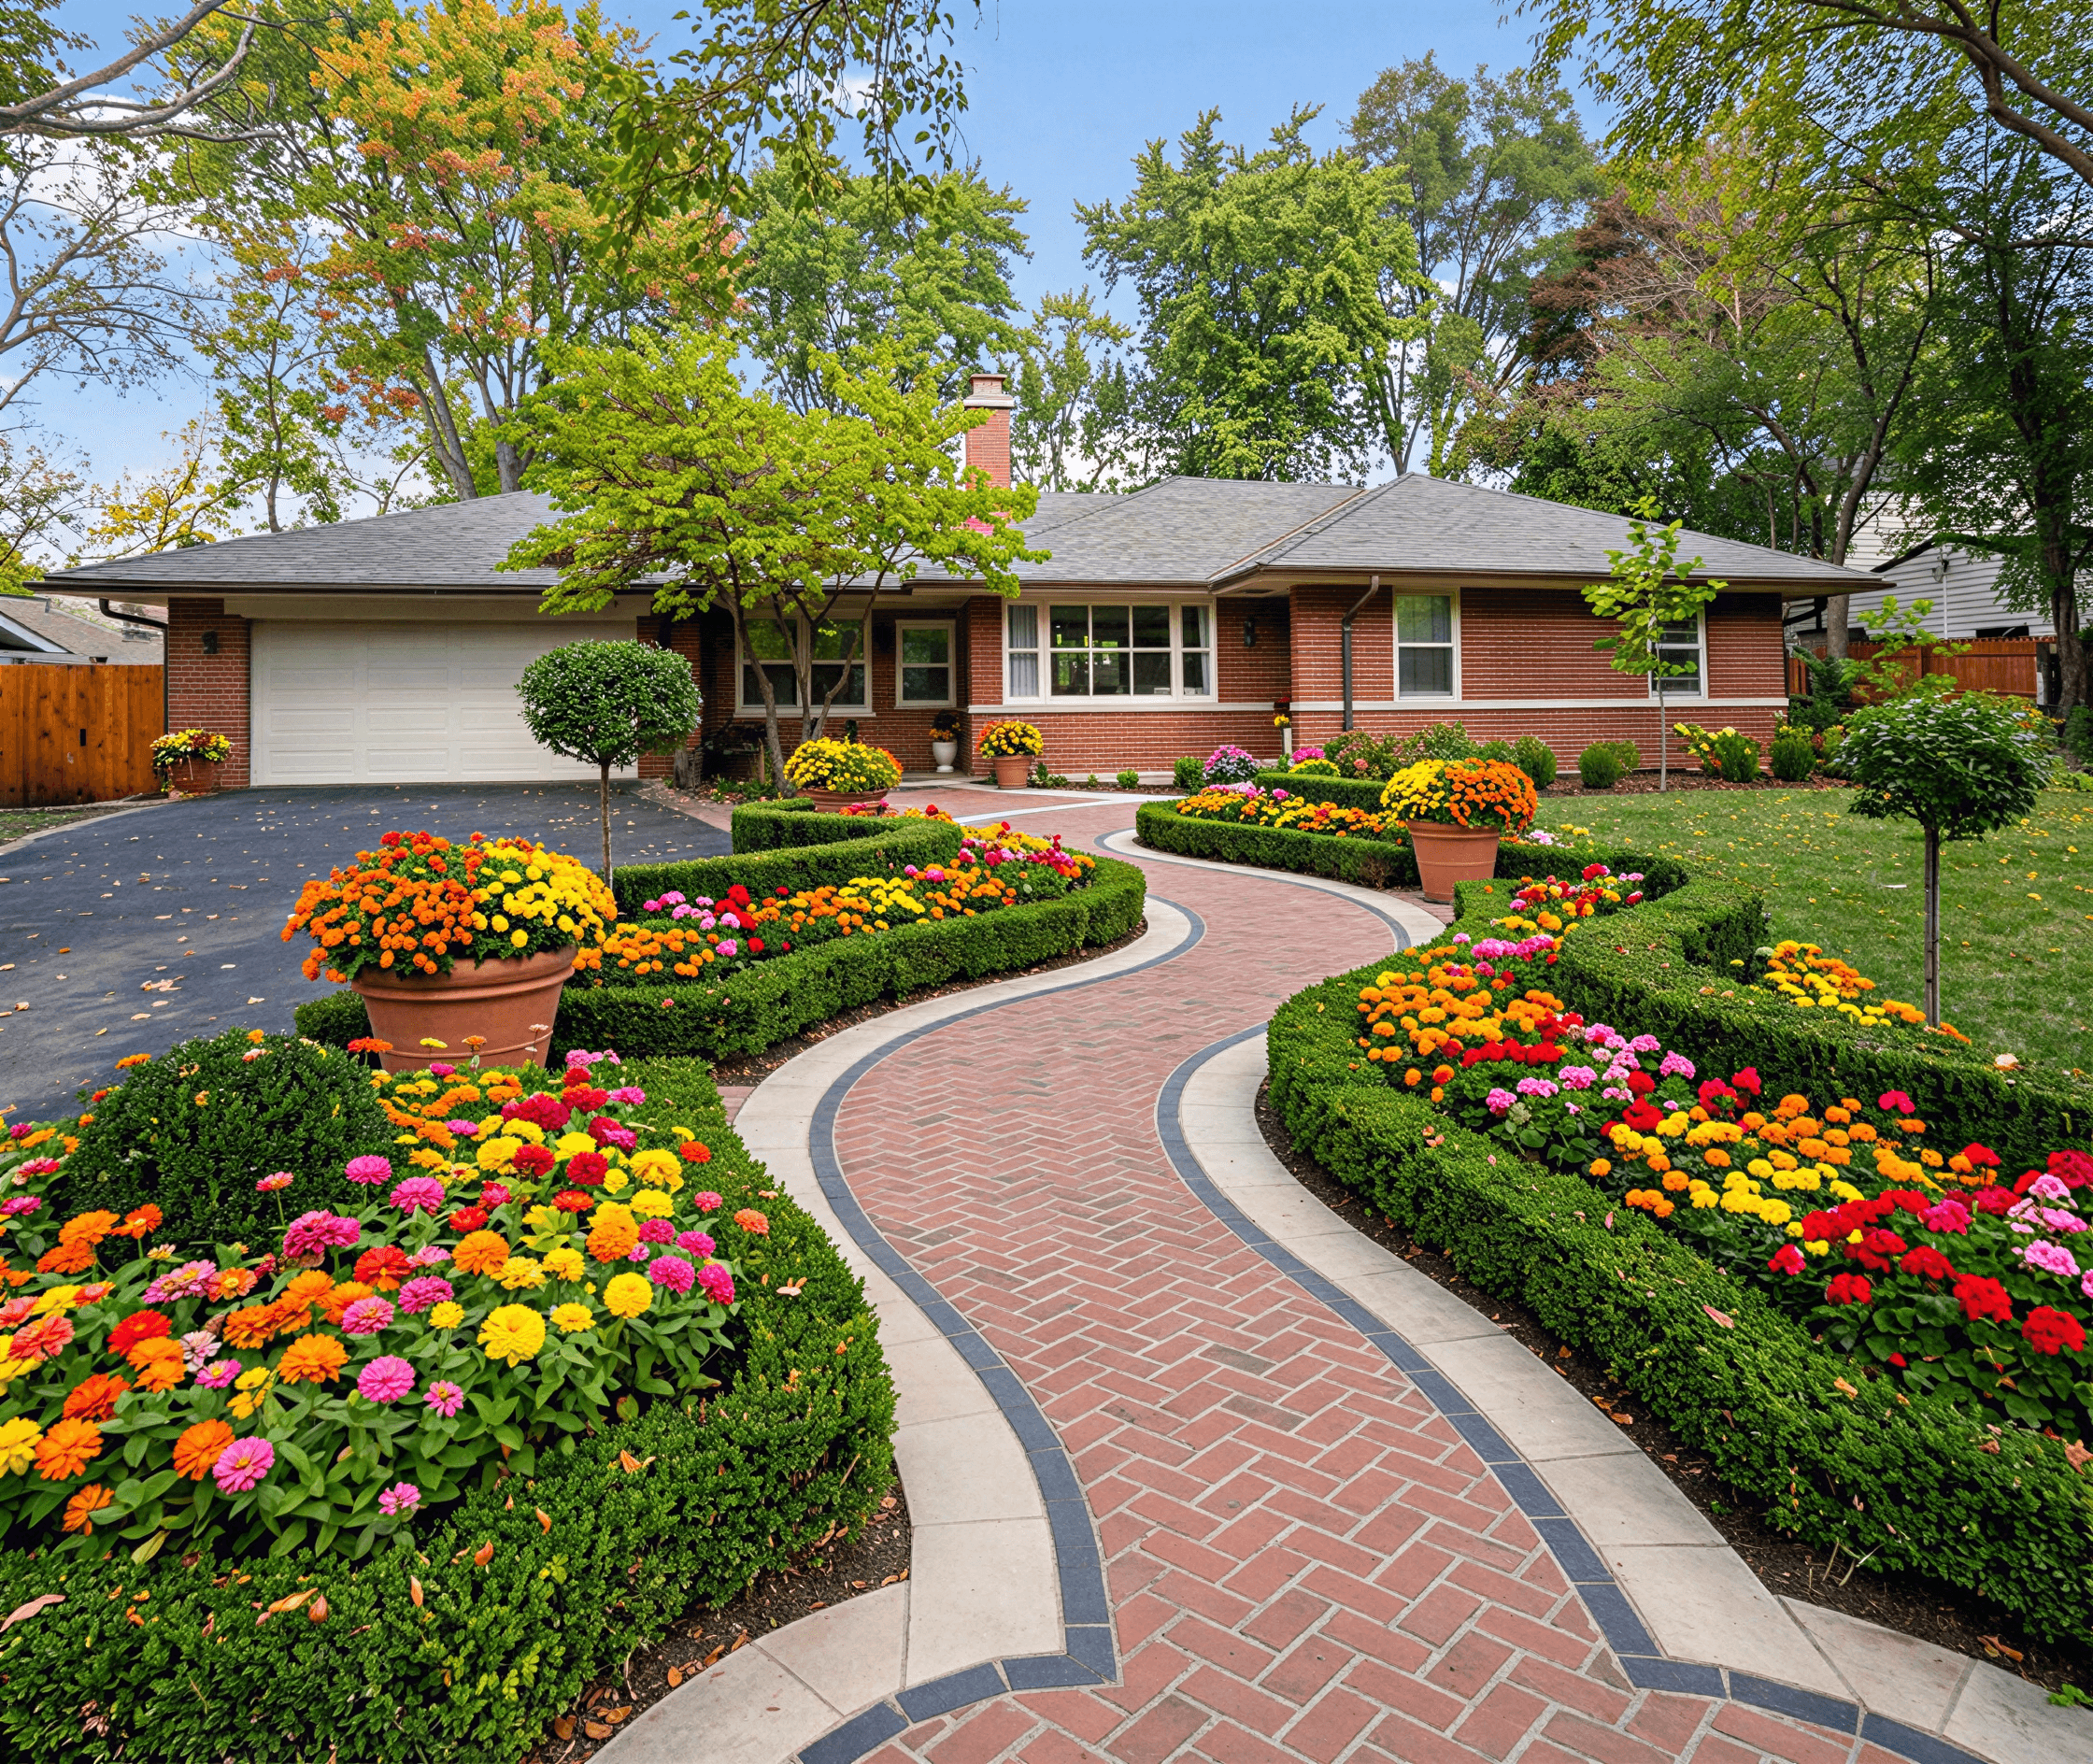
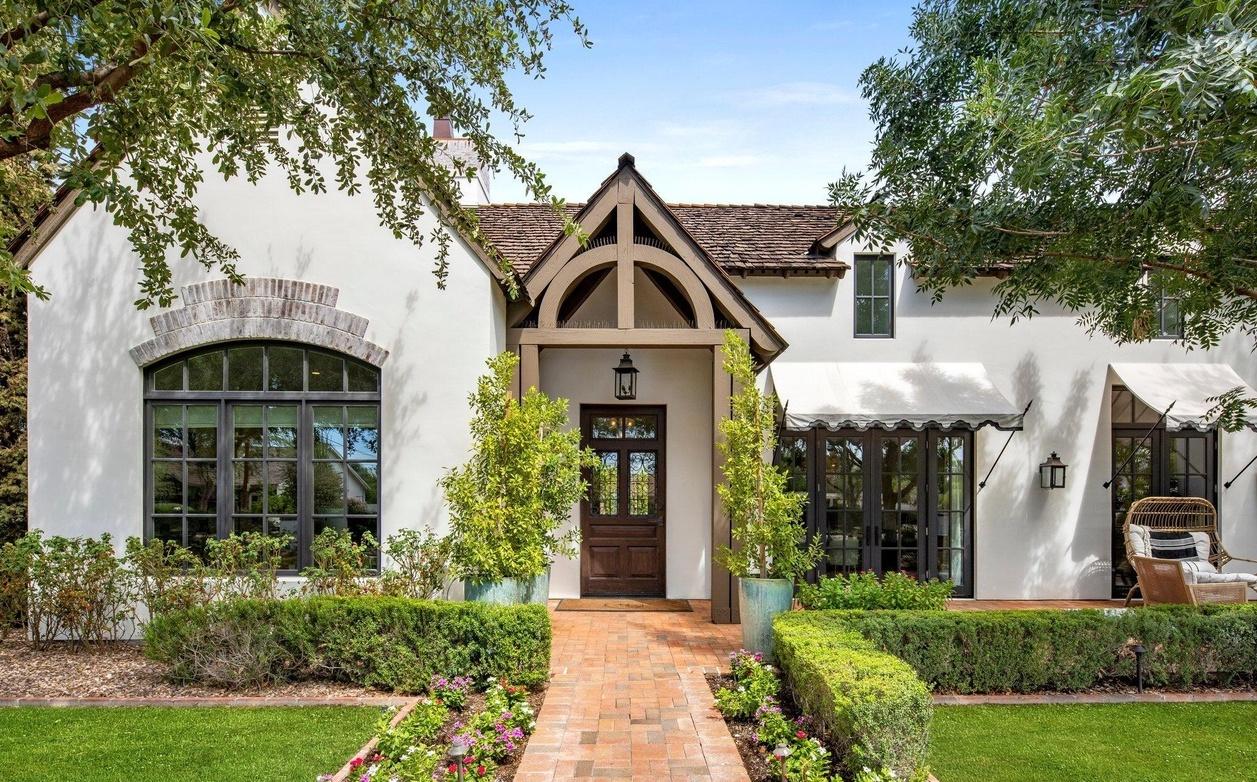
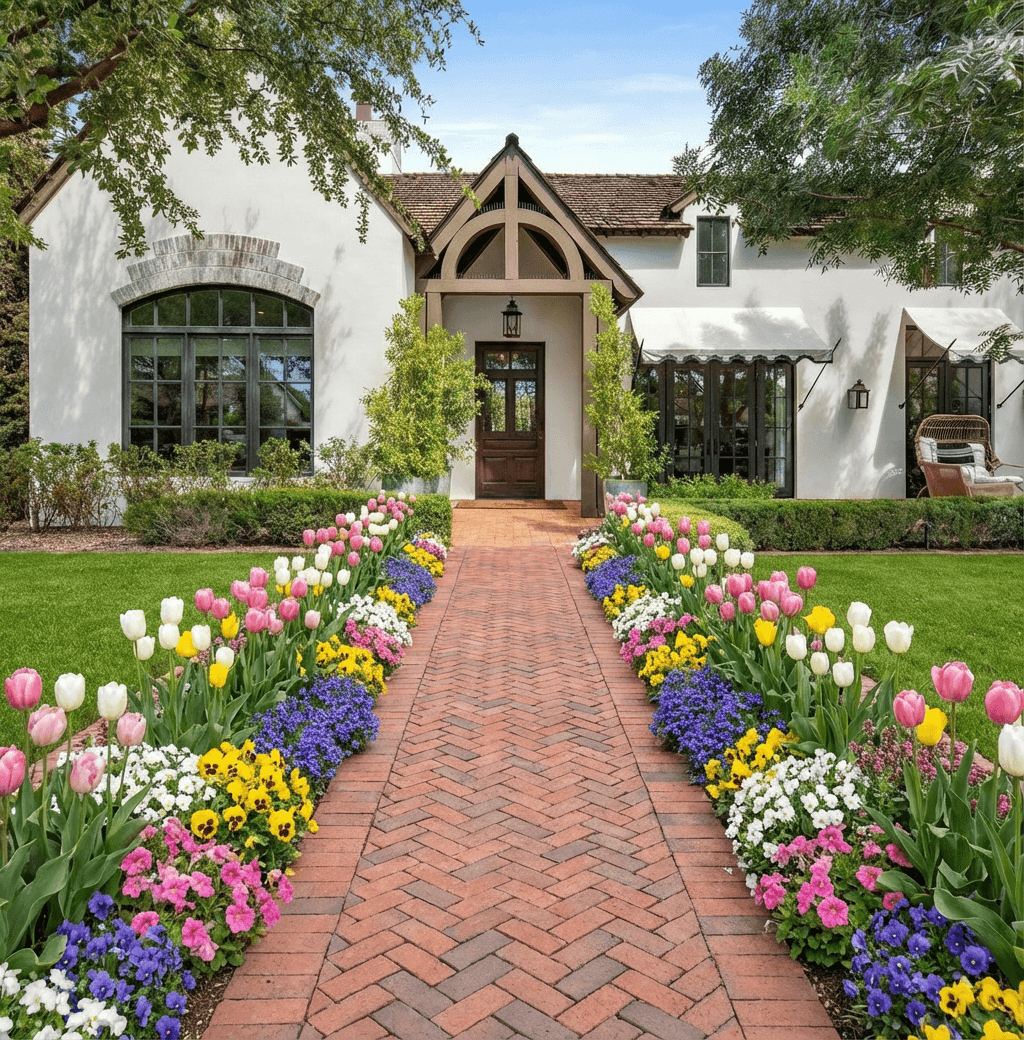
Here’s a visual example of the design logic in action:
If you want to reduce second-guessing before purchase, use a simple mockup process. Photograph the yard, sort plants by role, then test two or three restrained palettes rather than ten unrelated ideas. That extra hour upfront prevents one of the most expensive mistakes in low-water garden projects. Buying plants twice.
Designing for Efficient Irrigation and Hardscaping
Watering strategy is where smart design either holds together or unravels. Many traditional yards still rely on overhead spray, broad coverage, and fixed schedules. That approach works against drought-resistant landscaping because it treats every plant and surface as if they need the same thing.
The economics matter too. A University of California study found that xeriscaping can reduce water use by 50% to 75% and maintenance costs by 60%, often producing payback within 3 to 5 years, according to Proven Winners’ summary of xeriscaping return on investment. Those gains usually come from design discipline, not from swapping one plant list for another.

Overhead spray versus drip irrigation
A side-by-side comparison makes the choice clearer:
| System | Where it helps | Where it falls short |
|---|---|---|
| Overhead sprinklers | Turf and broad, uniform coverage | Evaporation, overspray, watering mulch and paving |
| Drip irrigation | Shrubs, perennials, trees, targeted zones | Needs layout planning and occasional emitter checks |
Drip irrigation fits low-water outdoor areas because it places water near the root zone instead of broadcasting it across foliage, mulch, and hardscape. It also works better when the yard includes mixed plant types with different spacing.
Overhead spray still has a place in limited turf or specific dense plantings. The problem is using it as the default for everything. That’s when homeowners end up watering paths, stone, and empty soil just to keep a few plants alive.
Water deeply, then back off
The goal isn’t daily moisture. It’s root depth. Deep watering encourages roots to move outward and downward, which is exactly what plants need if you want them to handle dry periods with less intervention later.
That means irrigation schedules should change over time. Newly installed plants need more consistent support. Established plants should be challenged gently so they stop depending on shallow, frequent watering.
For homeowners trying to build a better schedule around season and plant type, watering schedules for plants offers a practical reference point.
If the soil is only getting wet at the surface, the plant is being trained to stay vulnerable.
Hardscaping should reduce demand, not trap heat
Hardscaping does more than fill empty space. Used well, it reduces planted square footage, lowers maintenance, improves access, and helps define where water should and shouldn’t go.
The most useful hardscape choices in drought-resistant landscaping usually include:
- Permeable pavers for patios and walkways where infiltration matters
- Gravel paths that visually connect planting zones without adding irrigation demand
- Boulders and stone accents to create structure without maintenance
- Edging and seat walls to organize space and reduce bed sprawl
The trade-off is temperature. Large expanses of hard, dark, heat-absorbing material can make nearby plants work harder. Balance them with planting pockets, lighter finishes, or shade from well-placed shrubs and trees.
A good rule is to use hardscaping where people need function and circulation, not as a blanket substitute for every former lawn area. The best results feel intentional. They don’t read as “we removed plants to save water.” They read as “this yard was designed to use water carefully.”
Your Implementation Plan and Long-Term Care
A full yard conversion feels bigger on paper than it usually is in practice. Most homeowners do better when they break the work into zones and install in phases. Front entry first, side yard next, backyard seating area later. That approach keeps the design coherent while spreading labor and spending across seasons.
The first year matters most. A five-step establishment protocol that includes fall planting and deep watering through the first dry summer can produce 70% to 80% survival rates after the first year, and fall planting can reduce irrigation needs by 50% compared with spring planting, according to the UC Davis Arboretum guidance on establishing drought-tolerant plants. Those aren’t small differences. They’re often the difference between a planting that matures and one that needs constant replacement.
Install in practical phases
A phased plan keeps quality higher because each area gets proper attention.
A realistic sequence often looks like this:
-
Front yard focal zone
Prioritize curb appeal, circulation, and the most visible planting beds. -
Irrigation and grading adjustments
Correct water delivery and drainage before expanding the plant palette. -
Secondary side beds or parkway strips
These are ideal low-use zones and good places to test the palette. -
Backyard living areas
Add shade, privacy planting, and hardscape once the front-end lessons are clear.
This pacing also lets homeowners observe how sun, runoff, and maintenance habits affect the first phase before repeating mistakes elsewhere.
Follow the first-year establishment protocol
Most drought-tolerant plants need attentive care at the start. That doesn’t contradict the low-water goal. It’s how the plants earn that status.
The establishment pattern is straightforward:
-
Plant in fall when possible
Cooler weather and seasonal rains reduce stress and cut irrigation demand. -
Water thoroughly through the first dry season The objective is to push roots into native soil, not keep the surface damp.
-
Wet the entire root area evenly
Uneven watering creates uneven root growth and weakens plant stability. -
Reduce frequency in year two
Water more slowly and less often so plants transition out of dependence. -
Maintain a thick organic mulch layer
Mulch helps regulate temperature, conserve moisture, and suppress weed pressure.
Young drought-tolerant plants still need help. The trick is giving them enough support to establish without training them to expect constant shallow watering.
Plan your time and budget by project type
Precise costs vary too much by region, access, materials, and whether you hire out labor, so broad ranges are often less useful than a task-based budget. A practical estimate starts by separating the work into buckets:
| Cost bucket | What it includes |
|---|---|
| Site prep | Removal, grading, debris hauling, soil work |
| Irrigation | Drip conversion, valves, emitters, controller updates |
| Hardscape | Paths, edging, gravel, pavers, stone accents |
| Planting | Trees, shrubs, perennials, groundcovers |
| Finish work | Mulch, cleanup, touch-up planting |
For time, most DIY homeowners should expect the project to move slower than the shopping list suggests. Site prep and irrigation changes usually take longer than planting. Planting goes quickly once the base is right.
Keep long-term maintenance simple
After establishment, maintenance drops sharply if the design was disciplined at the start. The ongoing routine is usually light:
- Check irrigation periodically for leaks, clogged emitters, or coverage gaps
- Refresh mulch as needed to keep coverage intact
- Prune for health and shape, not constant cosmetic control
- Pull weeds early before they seed into gravel or planting beds
- Watch for plants that are outgrowing the plan and edit them before crowding begins
One useful maintenance idea from the Xeriscape approach is grasscycling, which can recycle 30% of applied nitrogen back to turf in areas where a small, practical lawn remains. If you keep any turf at all, that’s a low-effort way to reduce extra inputs without overcomplicating care.
A mature drought-resistant garden shouldn’t feel fragile. It should feel settled. The plants belong where they are, the irrigation only supports what needs support, and the yard doesn’t punish you for missing a weekend of maintenance.
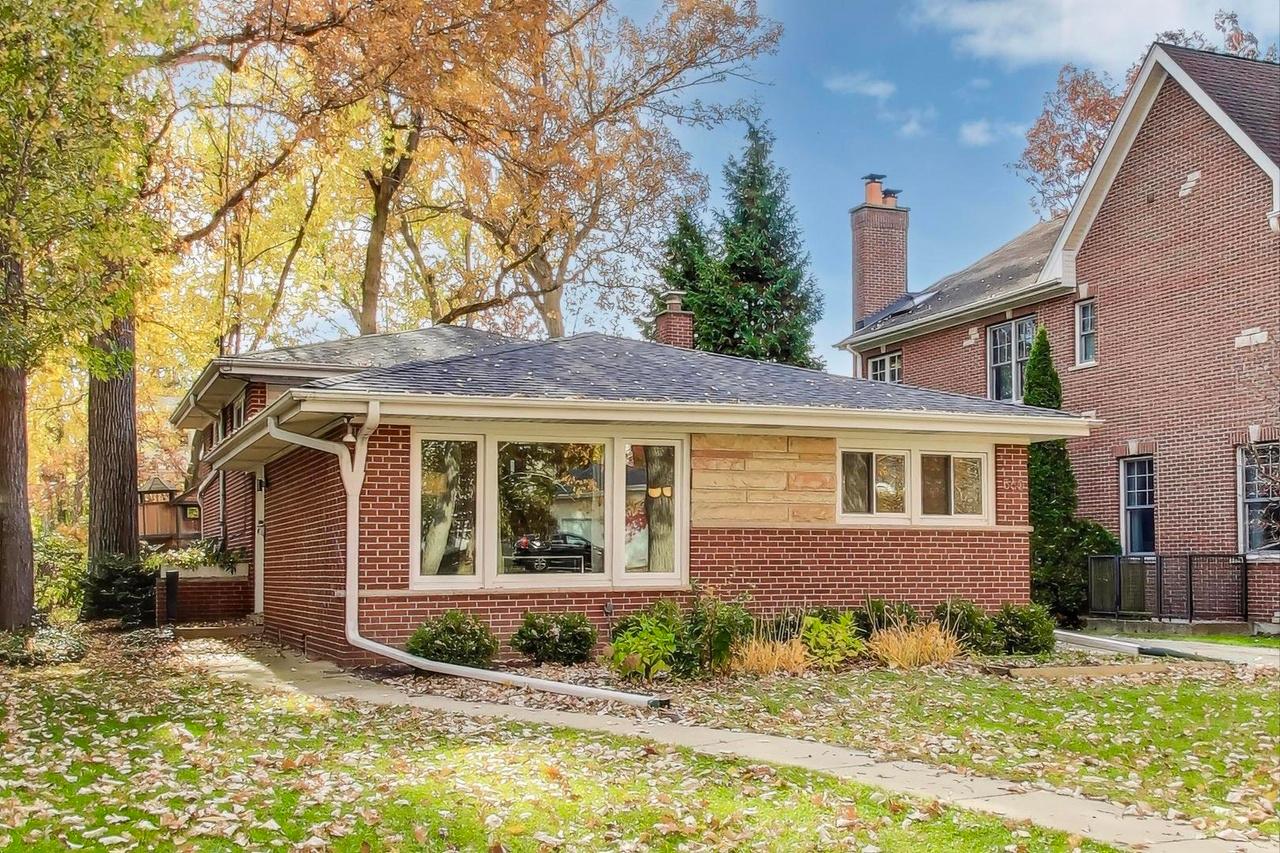
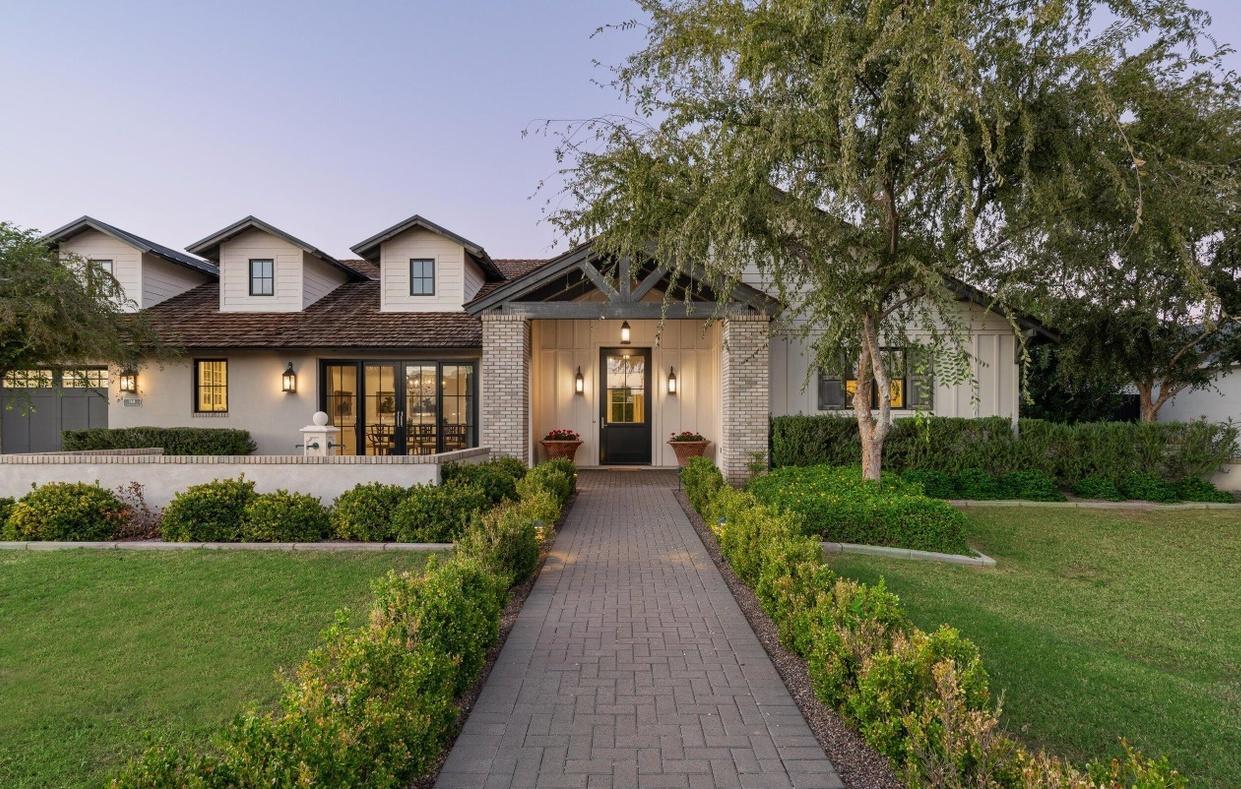
If you want to test layouts, planting styles, and water-wise curb appeal before committing to materials or labor, Curb Appeal AI can help you visualize drought-resistant landscaping ideas on your actual home photo and compare realistic directions before installation.